This post may contain affiliate links. Please read our full Disclosure Policy.

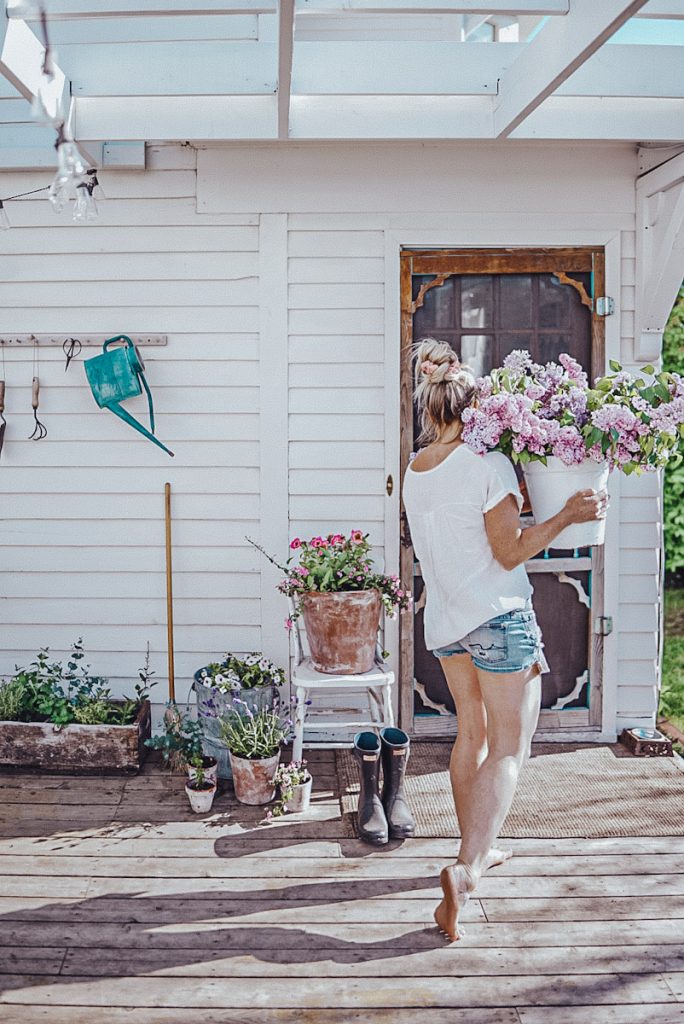
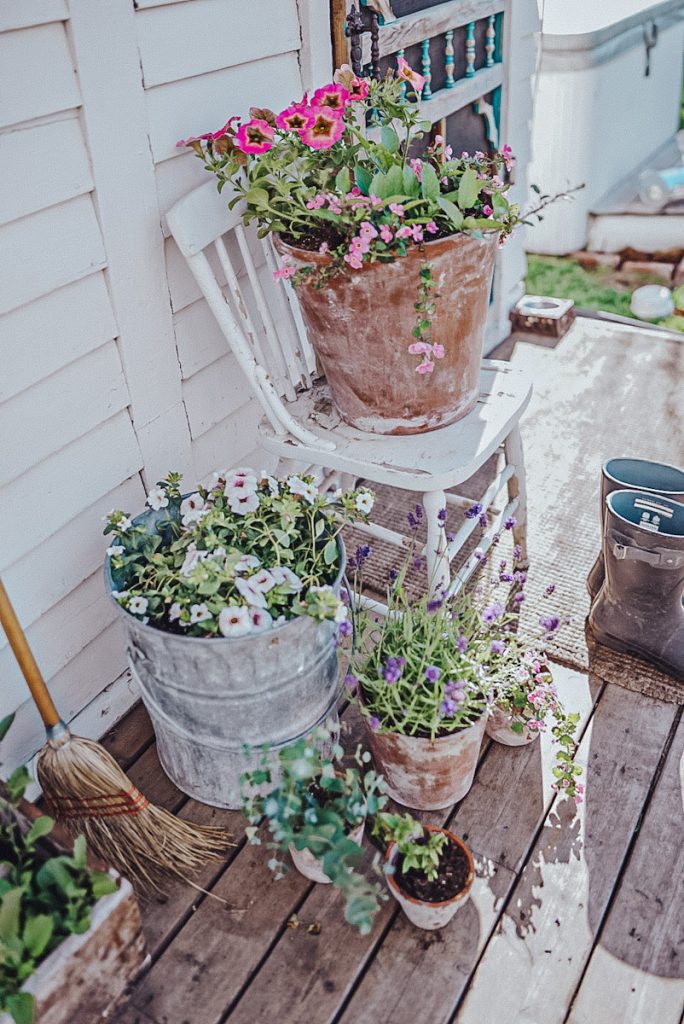
Aged terra cotta pots look stunning when filled with vibrant plants or as garden decorations, bringing a rustic charm to your garden, balcony, or living space. Transforming ordinary terracotta pots into vintage pieces is a fun way to add character to your home. Learn how to create this timeless look with easy steps that give your pots a weathered, antique appearance.
Decorating With Vintage Terracotta
It’s no secret that I love flowers and French antiques. After strolling through the streets of France last year, I decided I wanted to recreate that same feeling here at home by making my own aged old pots, which so many of the French had in front of their homes.

Adding vintage or antique decor pieces to your home is beautiful, no matter which style you love. But let’s face it, vintage home decor like these aged terra cotta pots can be very expensive when you are buying the real deal. This easy DIY project is an awesome way to get the look for less.

Terracotta Plant Pots
Terracotta is a type of ceramic clay that is used for many different purposes. From flower pots to bricks to pipes, terracotta has been around for many years and is still widely used today!
Due to their porousness, clay terracotta pots make excellent containers for both indoor and outdoor live plants, flowers, and succulents, especially those that need good drainage and are prone to root rot!
Make sure you check out my tutorial on how to properly plant flowers in pots. If you don’t have a green thumb and real plants aren’t your thing, any faux plants will do as well.

DIY Terracotta Pots
DIY terracotta pots are so much fun, and the kids will absolutely love to help with this one, too! I have two easy techniques that I have used in the past, and both work equally well. It is fun to do a few of each of the different methods to mix up the textures a bit! Read on to see the 2 fun ways that you can age terracotta pots in just a few easy steps.
Shop The Supplies
FIND EVERYTHING YOU NEED FOR BOTH OF THESE EASY DIY TUTORIALS HERE .


Tile Adhesive and Stain Method
What You’ll Need
- Terracotta flower pots of any size or shape
- Tile adhesive
- Wood stain in a few colours, one a very dark finish
- Plaster of Paris – dry mix
- Paint brush’s
- Paper towel or rags (these t-shirt ones are the best)
- Drop cloth

Instructions
- Begin by removing all the stickers and labels on the new pots
- Apply a small amount of the tile adhesive to the entire pot in a dabbing motion using a paintbrush. This will ruin your brush, so be sure not to use a high-quality brush for this part. You can add a lot or a little, depending on how you want your pots to turn out. Remember, this will not come off, so don’t go overboard if you are looking for an authentic look.

- Mix a bit of Plaster of Paris into some wood stain to produce a watery paste-like consistency. Apply this pasty paint all over the entire surface and let it dry! It only takes a matter of minutes.
- Once the pot is completely dry, generously apply the darkest stain to the outside of the pot.
- Wipe the pot using a paper towel or rag! You don’t want to let this part dry before you begin wiping. Continue to wipe the pots until you achieve the desired look of

Paint And Drywall Compound Method
What You’ll Need
- Pots – any size of shape of terra-cotta flower pot will work
- Drywall Compound
- Paint (various shades of white, cream, grey or green will work), chalkpaint works very well!
- Sandpaper
- Rags for applying drywall compound and paint
Instructions
1. Take any size terra-cotta flower pot and sand a few of its sides. If you feel brave, you can even use a hammer and chisel to notch out pieces of the top of the pot. Of course, this can easily break the pots.

- Take a rag and scoop up some drywall compound. Begin wiping the compound on the terra cotta pot. How much you apply to the pot depends on the look you are trying to achieve. Leave it thick in places to give the pot texture.
- Let the pots sit and dry.
- At this point, you can take the sander and remove some of the drywall compound if you feel you applied too much.
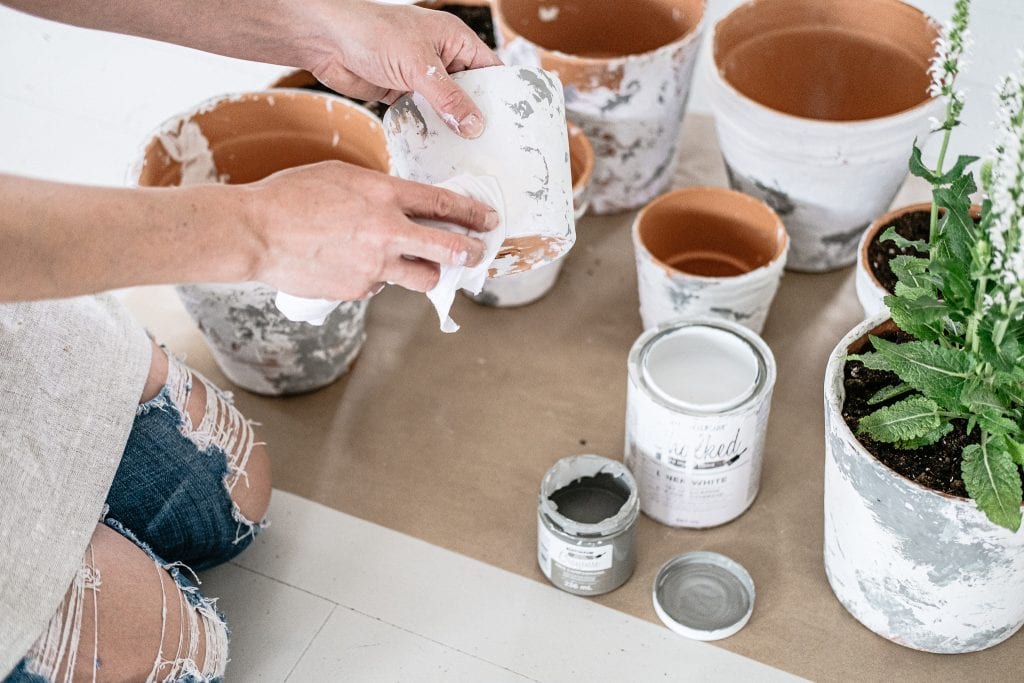
- Add a layer or coat of paint to your pot. Try using a couple of different colors of paint. White, cream, beige, or olive greens usually look best.
- Using a rag again, apply another layer of paint to the pot. Dap the rag on the pot to create a textured appearance or aged look. The different paint colors should overlap in spots to create depth and a vintage appearance.

- Let the paint dry completely.
- You can take a sander again at this point and remove some of the paint if you feel it was too much colou on the clay pot.
Seal The Pot
Finally, no matter which method you use, seal your pot, especially if it is being used outdoors. Brush on a clear coat of polyurethane, or if you prefer spray paint, try spray polyurethane.

DIY Aged Terracotta Pots Tips
Tile Adhesive and Stain Method
- If you use the tile adhesive method, be careful not to apply too much tile adhesive to the pot. This adds texture to your flower pots, which can look unrealistic if you use too much.
- If you don’t want your pots to lose their finished look, spray them with polyurethane after you are done. This will seal them up for good.
- Look for pot at the store that already had cracks and chips and then ask for a discount and save yourself some money. In the end, these pots will look the most realistic anyways!
This variety pack of terra cotta pots is a great option for these DIY projects!
Drywall Compound and Paint Method
- Do not apply the drywall compound to the bottom of the pot. Doing so will cause the pot to sit lopsided and leave marks on your surface when watering the plant.
- Let this pot “weather!” The more it is left out in the elements, the better it will look! The drywall compound will begin to wash off with water, so letting it get rained on will cause an “aged” effect.
- You can also rub the pot in the grass to get “grass stains” on it! This also has a fun effect on the pot.

Now… where to put all these beautifully aged terra-cotta pots? Check out how to style your outdoor patio with these finished flower pots!
I hope you enjoyed my two ways to age terra-cotta flower pots. Both are super easy and with a little hard work, your will come out with very authentic-looking aged pots. Let me know if you try either of these fun DIYs below! I always love to hear what you think!
More Easy DIY Projects
- How To Make Natural Egg Dyes For Easter
- DIY Antique Brass Chandelier Tutorial
- How to Age Galvanized Metal
PIN IT FOR LATER
Frequently Asked
Terra cotta is a dry, porous clay that will absorb water so you can absolutely pre-soak them prior to planting in them but it isn’t a huge deal if you don’t! As long as you stay on top of watering your flowers or plants that are in them. You can soak terra cotta in a sink or bucket of water for approx 30 minutes or so before you plant something in them. This allows the clay to absorb water and will stop it from wicking away water from the plant.
There are a handful of methods that can make your terracotta pots look vintage. A few of the most common methods are using drywall compound, paint, yogurt, natural sunlight and water, and even fertilizer.
want to save this recipe?
Enter your email & I’ll send it to your inbox. Plus, get great new recipes from me every week!
By submitting this form, you consent to receive emails from B Vintage Style.

Easy DIY Aged Terra Cotta Pots
Equipment
- Paintbrushes
- Paper towels or rags
Materials
- Terracotta flower pots of any size or shape
- Tile adhesive
- Wood stain in a few colors one a very dark finish
- Plaster of Paris – dry mix
Instructions
- Begin by removing all the stickers and labels on the pots
- Apply the tile adhesive in a dabbing motion using a paintbrush. This will ruin your brush so be sure not to use a high-quality brush for this part. You can add a lot or a little depending on how you want your pots to turn out. Remember, this will not come off so if you are looking for an authentic look, don't go overboard.
- Mix a bit of Plaster of Paris into some wood stain to produce a watery paste-like consistency. Apply this pasty paint all over the pots and let them dry!
- Once the flower pots are dry, generously apply the darkest stain, and then begin to wipe the pot using a paper towel or rag! You don't want to let this part dry before you begin wiping.
- Continue to wipe the pots until you are happy with the look of the flower pot.
- Optional – You could add a bit of green paint to the edges of the pot with a separate brush for a different look.


when aging terra cotta pots, what do you use as “tile adhesive”? Mortar? If so, what color?
Any Brand will work. And they will be a shade of off-white and any of them will work!
I love this!! When buying vintage isn’t an option and you get clever to make your own “vintage”, makes for a great day.
Thanks for sharing this DIY:)
Yesss!! Sometimes finding vintage finds isn’t always an option! Thanks for your comment.