This post may contain affiliate links. Please read our full Disclosure Policy.
Taking on a bathroom remodel and renovation can be a rewarding project that enhances your home’s aesthetics and functionality. With careful planning and attention to detail, you can create a beautiful and functional space that adds value to your home and improves your daily life.
It has been seven years since we first bought this ol’house! In the first three years, we did SO MUCH WORK on it. Since then, we have tinkered away at the rest once the bulk of that was done! We still have a few areas left to update, but this year, we took on the final bathroom renovation: our upstairs bathroom!
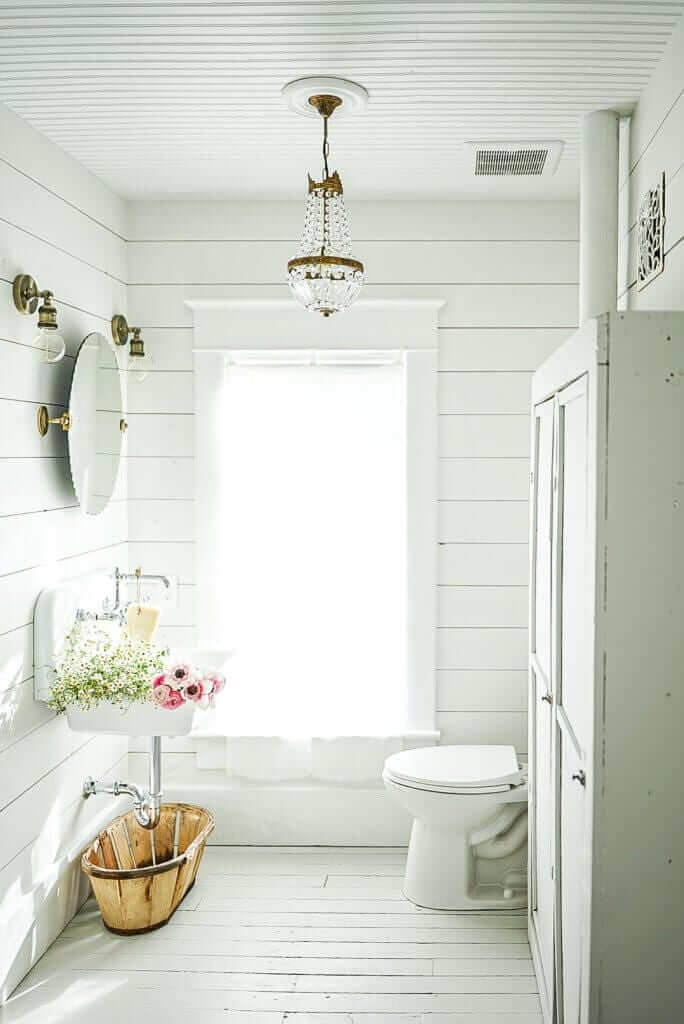
Take a look below at the crazy before-and-afters of this space! I’ve documented the entire process and made a list of what I used and recommended when renovating a bathroom. If you’re taking on a bigger home remodel, I also have a full home remodel guide.
Why Remodel A Bathroom
Renovating a bathroom can be beneficial for several reasons:
- Improved Functionality: You can enhance storage options, improve lighting, upgrade fixtures for better water efficiency, and create a more functional space overall.
- Enhanced Aesthetics: Updating your bathroom’s look can significantly improve your home’s overall appearance.
- Increased Home Value: Potential buyers often prioritize updated bathrooms, so investing in renovations can make your property more attractive in the real estate market.
- Updating Outdated Features: If your bathroom has outdated features or materials, a remodel can bring it up to modern standards. This can include replacing old tiles, updating plumbing fixtures, and upgrading lighting.
Renovating the Bathroom
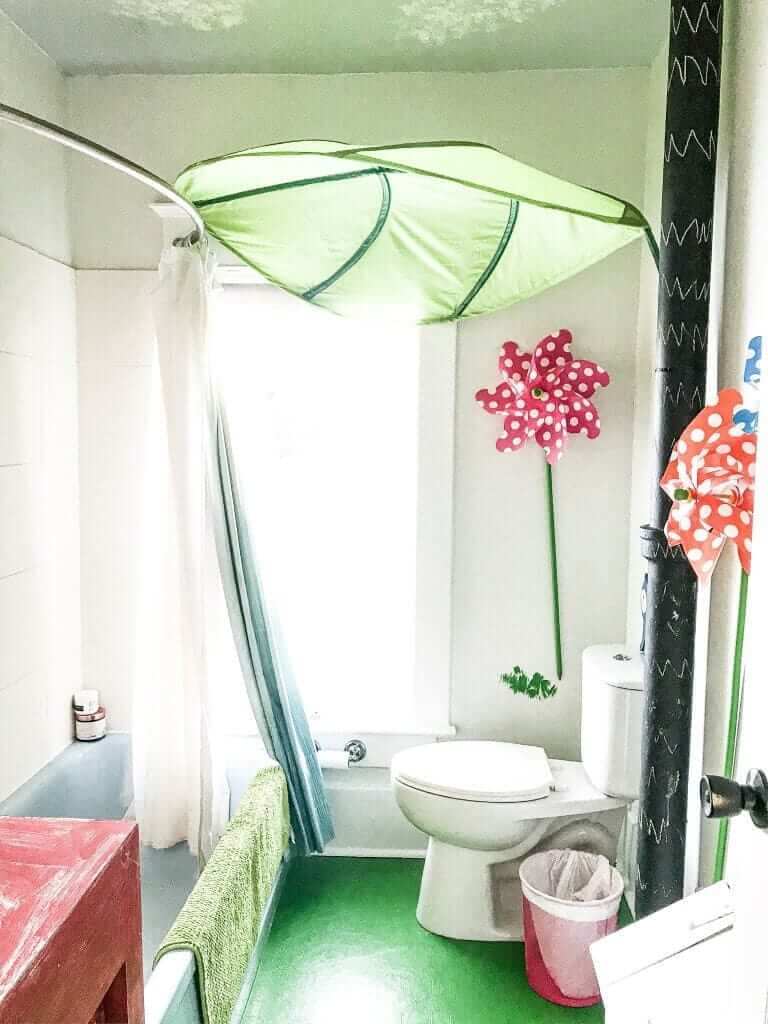
When we bought the house, there was so much needed work that we ran out of time and money when we finally got to this bathroom! The bathroom was supposed to be used for our kids, so I simply worked with what was there rather than ripping it out then! The kids were really into the Lorax movie at the time, so I decorated it with that in mind. They loved it, and it made sense to leave it until we finished other areas of the house. This year, though, we finally took it on, and I am SO happy with how it turned out!
Before Renovations


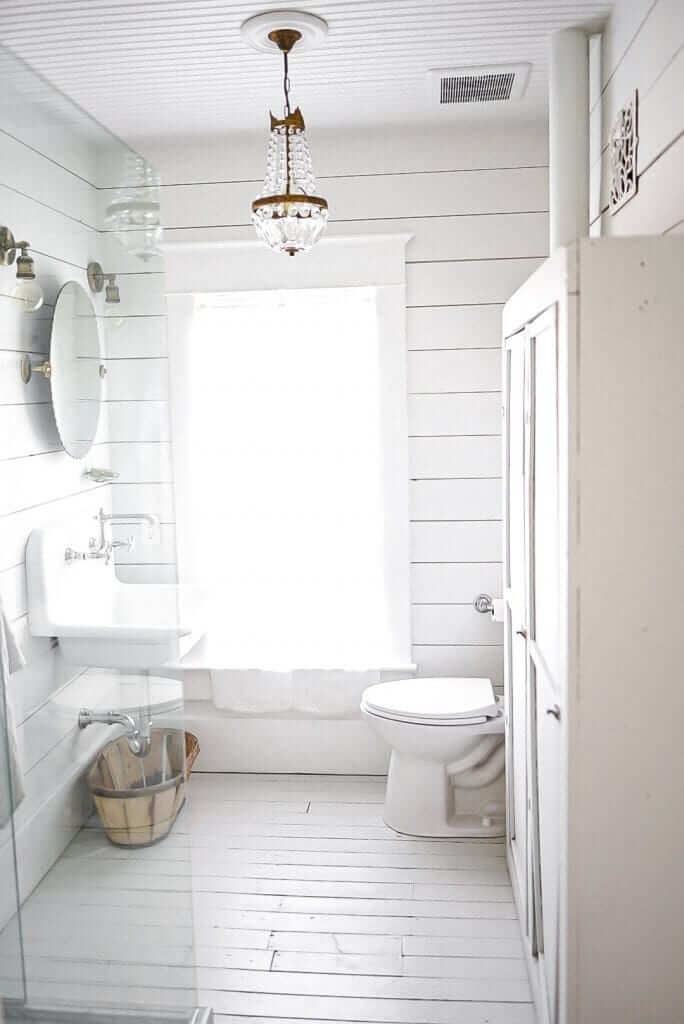
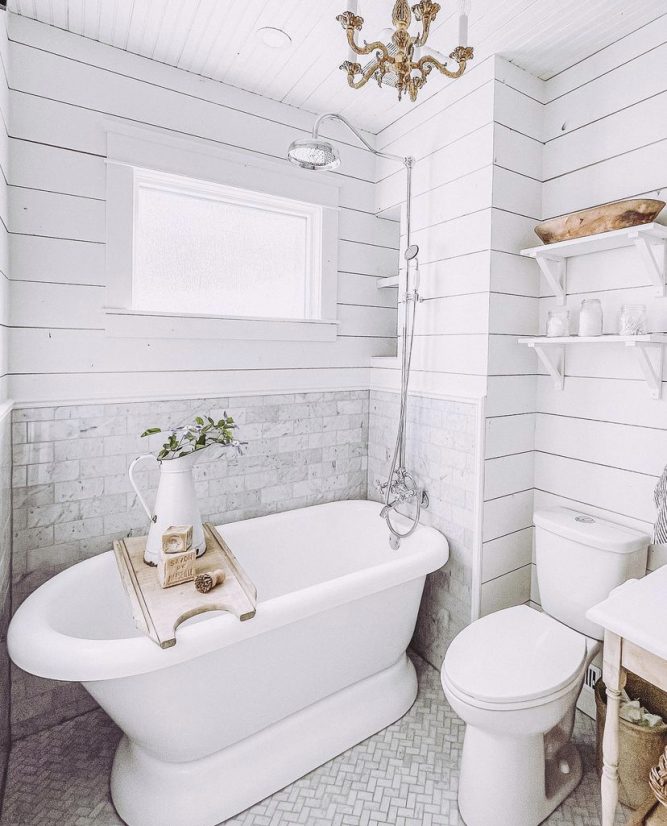
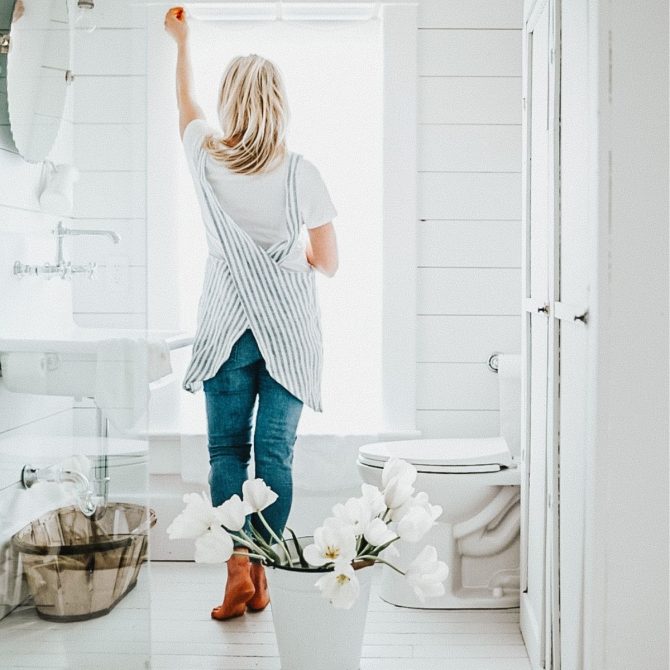
I wanted this room to feel like it had been there for the full 116 years that the house had been here but also be useable and functional today. I stayed as true as possible to elements I felt were classic and then updated features like the beautiful Carrera marble shower!
As the demo went on, we found the original hardwood floors below, I didn’t think we would as the other bathroom we renovated, they had been torn out. This changed a lot of the bathroom renovation plans because we decided to keep the floors and paint them instead of going with the marble floor we had originally planned for. I have a full tutorial to see what I did to paint the floors.
The floors also changed the plan for the bathroom shower. We were going to have an open European-type shower, but it now requires a closed-in shower with a base so that we wouldn’t ruin the hardwood. There are perks to being an interior designer when taking on a bathroom remodel, as I knew what steps to take to ensure it went smoothly. I have written them out for you below, so take a look and ensure your project goes as smoothly as mine did!

1. Set a Budget
Determine your budget for the remodel and allocate funds for each aspect of the project, including materials, labor, and unexpected expenses. Having a clear budget will guide your decisions and help prevent overspending.
2. Bathroom Layout and Floor Plan
Taking advantage of every inch of square footage, no matter the size.
A smart and efficient layout in a bathroom is the most important starting point when planning the space. Even in a large bathroom, every inch of the room and the positioning of your fixtures should be well thought out. A few questions to ask yourself are:
- What is the visual point when first entering the room?
- Where is the window situated? You don’t want to worry about neighbors seeing you use the toilet or coming out of the shower!
- Is the towel hook or cabinet in close proximity to where you exit the shower or bath?
- Have you added enough storage space?
- Does the shower door swing out into a major traffic area? If it is left open after a shower, you don’t want to worry about getting hit, banged, or just getting in the way.
- Where will the light switches need to go, and what fixtures do you want in the space?
- Is the placed toilet in the most unnoticeable area?!

The layout of this bathroom was drastically changed. I didn’t want to have the bath over by the window for two reasons. I didn’t want to worry about the water damage on the window trim or that I would have people seeing us.
The only way to move the shower to the other side of the room was to add a sliding barn door into the hallway instead of a door that swung inward into the room. I got my door from my favorite antique shop, Uniquties. It is a 200-year-old Welsh schoolhouse door!
This allowed us to move the plumbing onto the inside wall and have a great layout for the new shower! Moving the shower also gave us a great view of the sink and window when entering the room.
Shop Our Bathroom
3. Think About Storage
Plan for adequate storage solutions in your bathroom that will help keep your bathroom organized, such as cabinets, shelves, or built-in niches. Utilize vertical space to maximize storage without cluttering the room.
We chose to add a beautiful old piece of furniture to this space as storage. It was not only cost-effective but also very true to the age of the house.

4. Secure your Trades
Depending on your DIY skill level, you may need to hire a carpenter, electrician, plumber, tile installer, glass cutter, etc. A couple of tips are to ensure you secure them early. Sometimes, the good ones are booked months in advance!
Make sure you have each of them come over to give a consult before the renovation begins! This is so important to ensure your floor plan and layout don’t have any flaws or problems you aren’t aware of.
5. Stay Organized and Communicate
Track project timelines, contractor schedules, and deliveries to ensure a smooth remodeling process. Maintain open communication with your contractor to address any concerns or changes promptly.
Ensure you are always available to answer any questions your trades may have. Tell them not to assume anything, and if they aren’t 100% sure what you want, to ASK! This will help with many communication issues that can arise; better yet, write everything down for them!
Draw pictures if you have to so you are on the same page! Remember, it is your responsibility to have ALL the items ordered and on-site before the start of the renovation. This included tile, lighting, flooring, faucets etc.

If you have the financial means, get an interior designer; they can help and even save you money in the long run!
6. Lighting, Ventilation & Electrical Design
When planning the space, make sure to consider the lighting seriously. Light fixtures can really add personality and mood to the bathroom! Although an elegant finish on faucets can definitely make a bathroom look elegant, you’ll never make a bad choice once you consider installing sufficient and luxurious bathroom lighting. Well-designed vanity lighting is also capable of eliminating shadows on faces.
A combination of a central fixture recessed LED lights, and wall sconces beside or over the mirror is a great option. If the lighting is too bright, you can always install and use dimmer switches or have a few lights on separate switches.
Envision yourself in the space and what areas you want brighter LED lights in. If you want to have a spa-type feel when bathing, you may want the option of Edison bulbs on dimmers, as they create both a soft, ambient glow and useful light.
I love having a brighter recessed LED light above the shower but still having the option to have soft lighting everywhere else. The double vanity lights beside the mirrors and central fixture were all put onto one switch with a dimmer, and the shower light was left on its own switch.
I also added a dimmer to it, though! I love being able to adjust the lighting depending on the time of day and my mood.
Proper ventilation is always required in a bathroom. Position it as close to the shower/bath as possible and get one with a timer! We added shiplap to this bathroom space, making it even more important.

7. Mix Metals and Finishes
Mixing and matching your fixtures can be a beautiful design element and be cost-effective in a bathroom renovation.
When planning for this space, there is no need to always keep things matchy-matchy! Sometimes, it is a good idea to mix things up, and sometimes, it can save you money, too!

I chose to keep my bathroom fixtures polished chrome and my lighting all antique brass. Many of the elements I purchased were actual French antiques, so I wanted to stay true to the look and feel of those elements.
Disclaimer * The shower faucet I chose was NOT for a shower, and I had to get my contractor to do some handy work to make it work!
Shop Our Fixtures and Lighting
Do you want to add sconce lighting to your bathroom? Check out this wonderful post from our friend Shauna, Satori Design For Living
8. Simple is Effective in a Bathroom Remodel
Don’t go overboard on what you need in a bathroom! Finding the right bathroom vanity can sometimes be tricky! This element and the lighting are the two areas where you can add personality to the space.
I don’t have commercial-made vanities in any of my bathrooms. In fact, I refinished a wooden desk and made it into a vanity for my bathroom. Finding furniture that can be made into a vanity is also usually very cost-effective and can save you a ton of money!
A wall-mounted sink or custom vanity adds character to a room. As long as you have ample storage, these are great options.
The painted wood floors in this bathroom space have also held up so well, giving it the simplicity I crave. Oxford White is the paint color on the walls.

I added a wall-mounted, vintage-inspired cast sink to this room! I love it SO much because of the size of the basin! It is almost like having a kitchen sink in the room. I also found an old vintage cabinet for $100 that I had the carpenters cut out to hide the cast iron stack in the room! It looks like it has been there for years, and I can store SO much in it, which is a win-win!
9. Be Patient and Flexible
Remodels may encounter unexpected challenges or delays. Stay patient and flexible, and be prepared to adjust timelines or plans as needed to achieve the desired outcome.

I am in love with how this beautiful bathroom has turned out! It is such a functional and beautiful space now, and I am happy with how this bathroom remodel went. I hope these tips will help you with any bathroom renovations you take on. There is nothing better than creating a space you love!
Be sure to add this post to Pinterest, and let me know your thoughts or any tips you may have in the comments below.
More Home Projects and Inspiration
- How to Choose Shiplap For Your Home
- 1How to Choose Shiplap For Your Home2 Easy Tips To Choose Home Colour Selections For Interiors
- Shiplap Bathroom Ideas and Install Guide
Frequently Asked
Does not having a tub in the bath hurt resale?
Unfortunatly yes. Not having a tub in the bath may impact resale value for some buyers who prioritize having a bathtub for relaxation or bathing children. However, buyers’ preferences vary widely, and factors like overall bathroom layout and features can also influence resale appeal.
This depends on how much you can DIY and whether you can find some of your fixtures and materials for decent prices. However, typically, the most expensive part of a bathroom remodel is the cost of labor, including plumbing and installation, followed by materials such as tiles, fixtures, and cabinetry. Other significant expenses may include structural changes, electrical work, and specialized features like heated flooring or custom shower enclosures.



Nice post. Explained very nicely. I was also looking for a bathroom renovation. I will consider your advice.