This post may contain affiliate links. Please read our full Disclosure Policy.
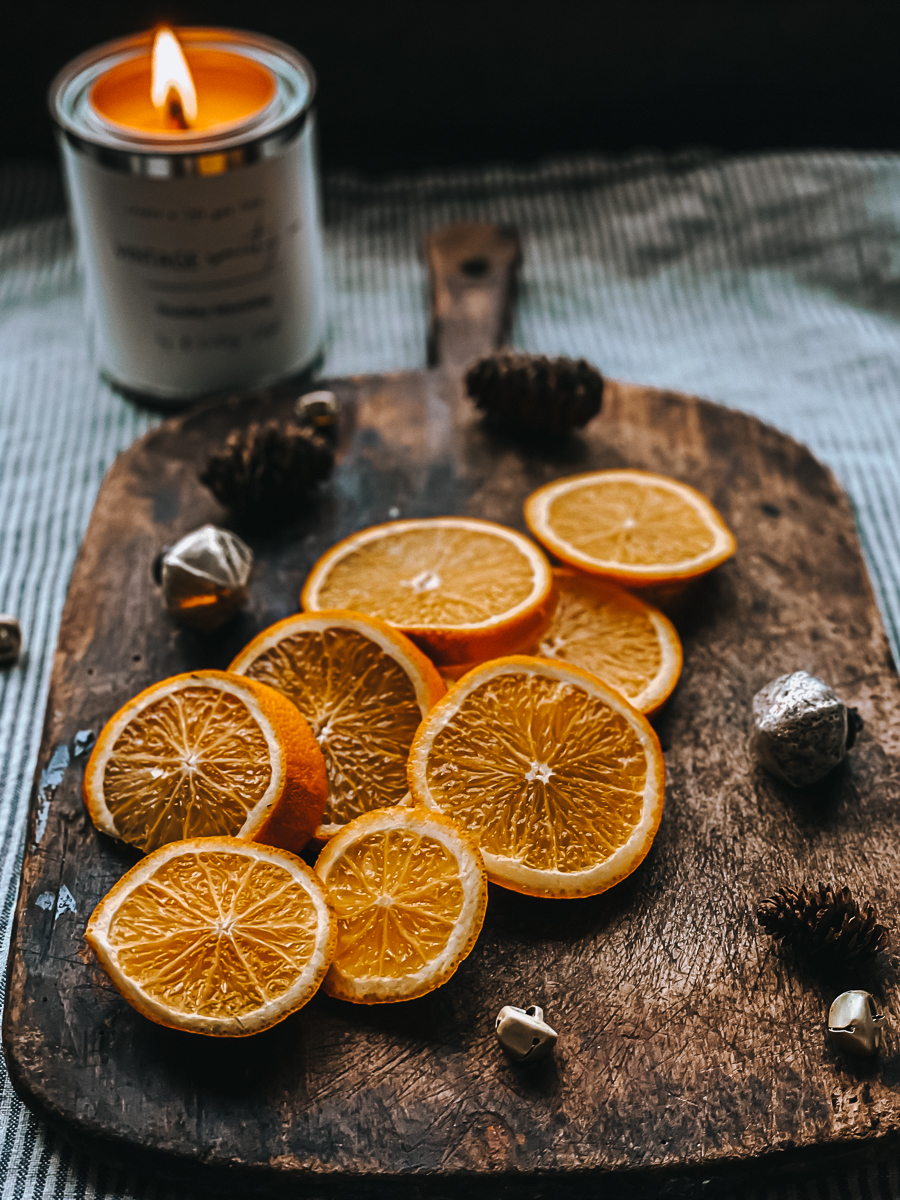
Dried orange slices are a classic during the holidays. Beautiful and easy to make, DIY dried orange slices give your home a Scandinavian style and are perfect for use over the holidays.
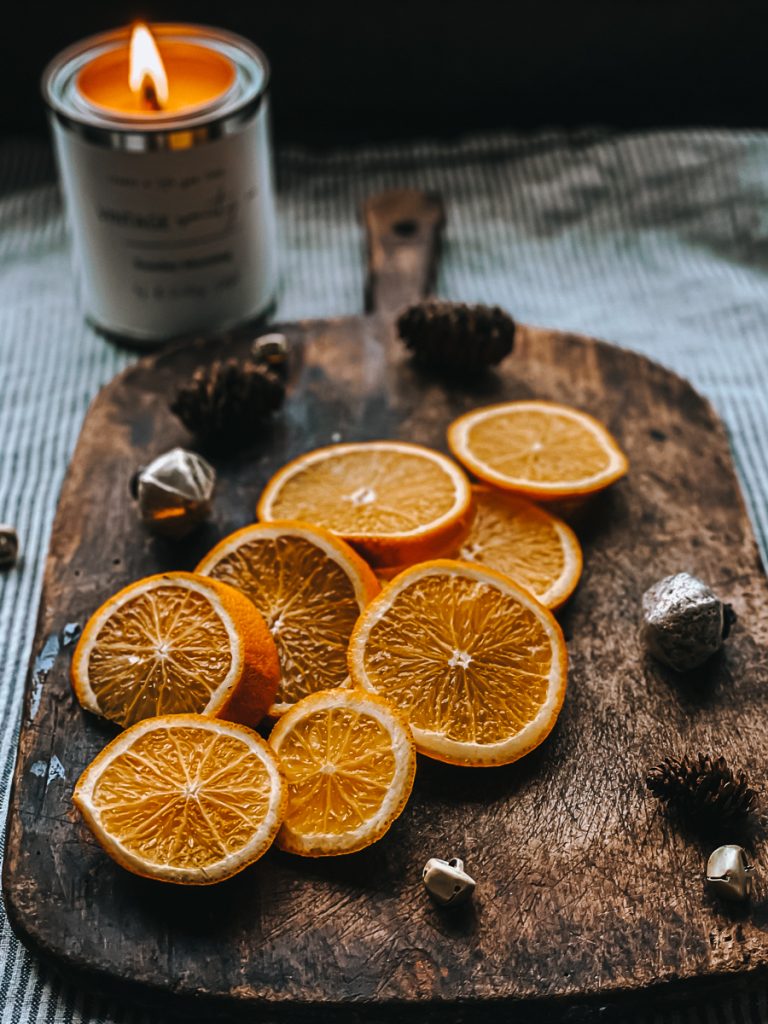
They can even be kept out after the Christmas season as a simple winter decoration. Learn how to dry orange slices and use them for ornaments, garlands, decor, garnishes, potpourri, and more.
Types of Oranges and Fruit to Use for Drying
Although for this recipe and DIY project, we will be focusing on using regular naval oranges, almost any citrus fruit available can be used. Grapefruit, lemons, limes, tangerines, and even blood oranges are all great options to dry.
Each type of citrus fruit will dry with a slightly different color, size, and smell. I love to mix and match all different citrus fruits when I do a batch of dried oranges.
The options are endless, but make sure to purchase oranges or citrus fruits that are in good condition, fresh, and firm without soft spots or discoloration. Any marks prior will show on the final dried fruit. Seedless varieties of fruit are best! You don’t want large holes in your final dried pieces from the seeds.

Uses for Dehydrated Orange Slices
There are many ways to use dried orange slices, especially over the holiday season! Let’s review a few of the most common ways to use these beautiful pieces of fruit.
Festive Dried Orange Garlands or Ornaments
Dried orange slices make the most beautiful holiday decor over the festive season or even throughout the winter season. When placed near a window or where direct sunlight hits, dried oranges have almost the same effect as stained glass. The orange piece will literally glow and look golden, which makes these the perfect Christmas decorations.
Follow this step-by-step tutorial on how to make dried orange garland.
Use dried oranges individually by hanging single pieces with ribbon or twine from a window, try layering them down a linen table runner, or fill an antique container with pinecones, bells, and dried oranges as a table centerpiece.

Using twine or fishing lines, string them to make simple and beautiful festive garlands to be hung throughout your home. Decorate a simple Scandinavian-style Christmas tree with dried orange garland. The smell of fresh evergreen mixed with citrus is perfect for the holiday season.
Placing dried oranges on a mantle will also give a cozy holiday experience. When warm from the fire, the oranges will produce the most beautiful natural citrus smell.

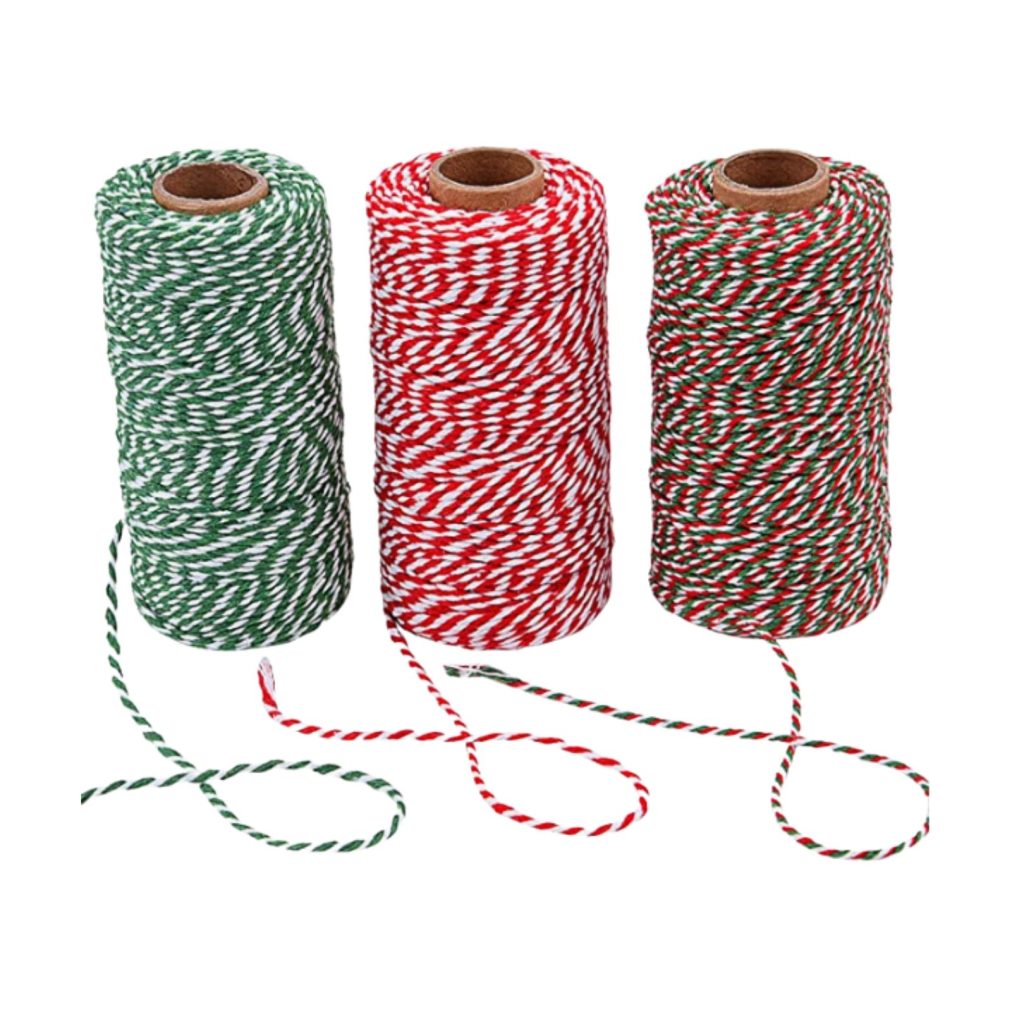
Need supplies for this easy DIY? Shop decorative string, burlap twine, and even pre-made dehydrated oranges.
1lb bag, $16


Dried Apples and Orange Slices
10 oz bag, $18
3 roll set, $14
Cocktail Garnishes and Healthy Snacks
Dried orange slices are, of course, EDIBLE! This means these beautiful pieces make the perfect addition to a holiday cocktail or even a tasty cup of cider! Although the natural sugars are enhanced when you dry dehydrated oranges, adding a sugar or spice mixture to them prior to drying is common, too.
Dip the edge of your dried orange in melted dark chocolate for another tasty treat or healthy snack! Add dried orange slices or citrus fruit to many salads and desserts. So many types of treats, recipes, and holiday dishes dried oranges can be used for.

If you will make your dried oranges to be eaten, it is a good idea to dry them with a bit of sugar to add more sweetness. The oranges dry naturally with a sweet flavor but the sugar will enhance it.
Potpourri and Simmer Pots
Simmer pots potpourri are excellent during the fall and winter months! Adding a few pieces of dried oranges to your potpourri will give a wonderful bit of color and texture to whatever type you have. The oranges will also bring that amazing citrus scent to your potpourri.
Simmer pots are another great place to add a piece or two of dried orange! It will add color and texture to your pot and the most amazing smell!

Gift Bag Ornaments or Tags
Dried oranges are the perfect size to add to a gift bag or present during the holiday season. The pretty pop of color and wonderful smell are sure to bring a smile to whomever the gift is for.
Dried Oranges at Christmas Time
So why do we use oranges during the holidays and Christmas season? The story goes as follows:
St. Nicholas learned of a poor man who couldn’t find suitors for his three daughters as he didn’t have any money for a dowry. One night, St. Nicholas traveled to the man’s home and tossed three sacks of gold down the chimney. The gold happened to land in the three girls’ stockings that were hanging by the fireplace to dry. The oranges we receive in our stockings today represent the gold from the girl’s stockings. This is why oranges are a part of modern-day Christmas traditions.
Shop beautiful Scandinavian Christmas Decor in my Online Shop.

How to Make Dried Orange Slices
Now that you know some history and what to use dried oranges for, it is time to learn how to make them.
Tools and Supplies for DIY Dried Orange Slices
- Sharp Kitchen or Chef’s Knife
- Oven
- Large Baking Sheets or Cookie Sheets
- Parchment Paper
- Cookie drying rack or Cooling Rack
Optional* Decorative string or Burlap Twine or Fishing Line

Ingredients For Dried Oranges
- 2 Large Navel Oranges or Citrus Fruit of your choice.
Optional* These can be used if your oranges are to be eaten.
Step-by-Step Tutorial to Make Dried Oranges In The Oven
- Preheat the oven to 175° F.
- Wash and dry the whole oranges.
- Using a sharp chef’s knife, slice the oranges crosswise, keeping them approximately ⅛-inch thick. Note that the thicker your oranges, the longer they will take to dry.
- In a bowl, mix the sugar and spices and toss the fruit slices in the mixture. This is optional but a great way to add a bit of extra sweetness and a beautiful scent to your dried slices.
- Set slices in a single layer on baking sheets topped with wire racks. Feel free to add parchment paper underneath to save on any dishwashing.

Blot any excess moisture on the slices, and leave a bit of space between each slice of orange.
- Cook for 4-6 hours, until dry to the touch, rotating every 30 minutes or so for even cooking.
Some pieces will cook faster than others, so it is crucial to watch them! Especially if you are using different types and sizes of fruit.

You will know if they are done by the color. A finished slice will be a beautiful golden orange color. If you let them bake too long, they may burn or end up with grill lines.

If you are making oranges for an edible treat or to have as a garnish, you may choose not to cook them quite as long. A soft, chewy orange treat is much better than a brittle one.
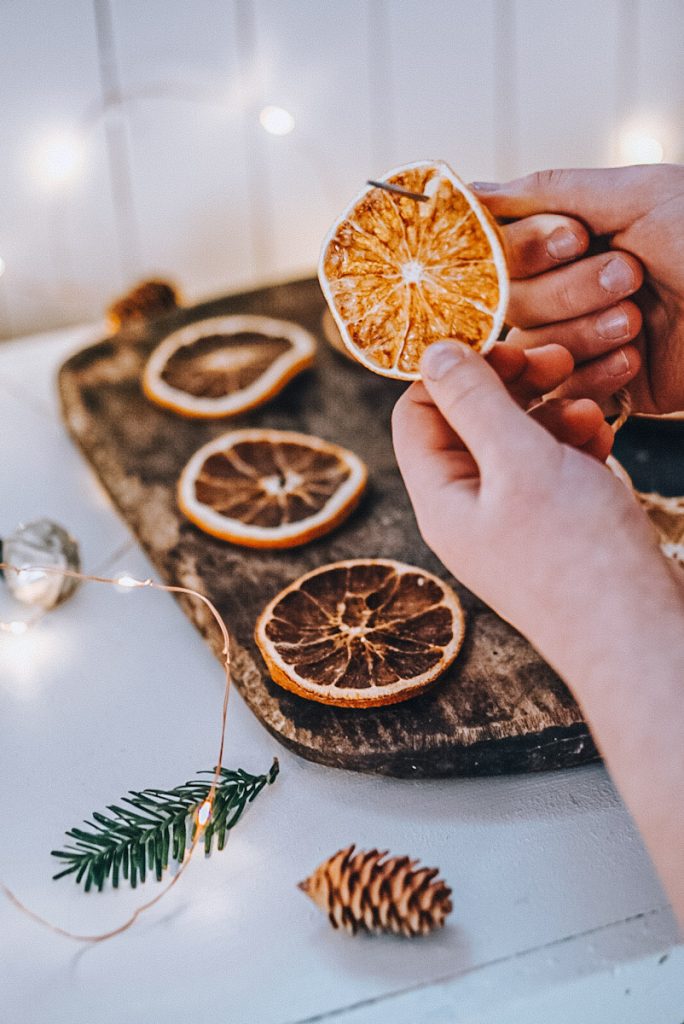
- Once you are satisfied with the color and texture of your orange, remove them from the heat.
- Cool completely before storing or using.
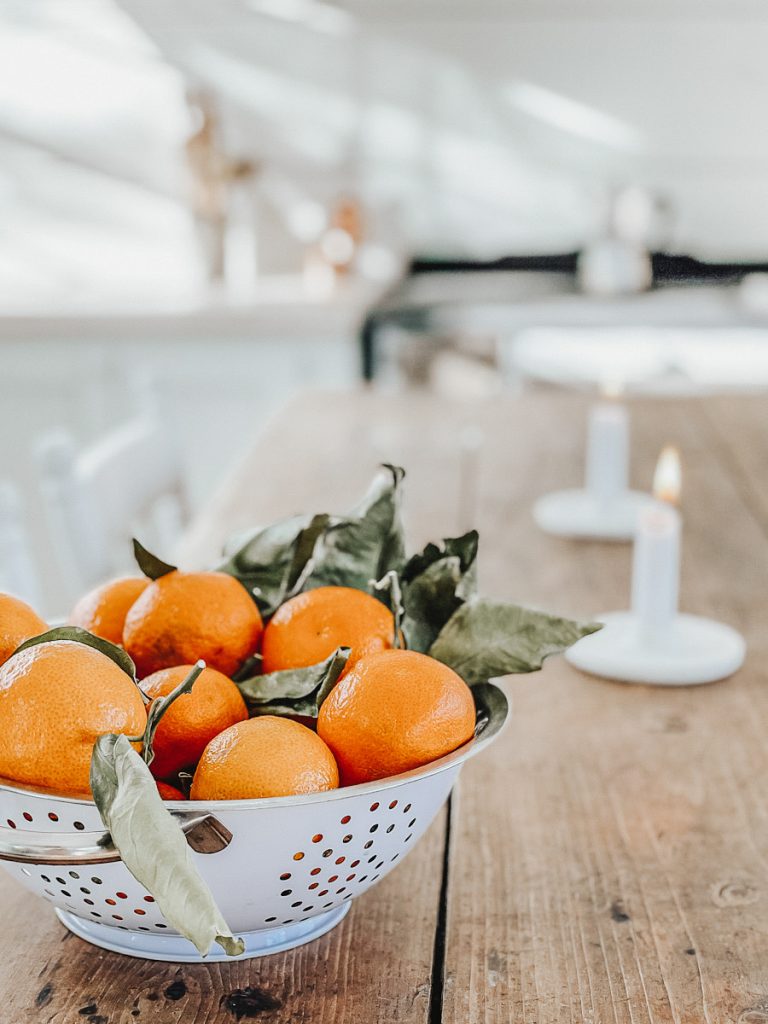
Tips and Tricks for Dried Orange Slices
- Always choose to use fresh oranges or citrus fruit. Look for firm oranges that don’t have any soft spots or discoloration.
- Use parchment paper under the oranges on the baking tray. The caramelization from the sugars in the fruit will drip down onto the baking sheet or bottom of the oven and is very difficult to remove.
- Make sure you continually check on your oranges when they are baking. Flip them every 30 minutes or so. Not every piece will cook at the same time, especially if you are cooking different sizes of fruit.
- If the oranges start to brown but don’t look dehydrated, that is a sign that your oven is too hot.
- Be sure to blot the orange slices with a paper towel to remove any excess moisture, and always leave a bit of space between the slices when you place them on the cookie tray.
Other Drying Methods
There are other ways of drying or dehydrating oranges and citrus fruit.
Food Dehydrator or Air Fryer Oranges
Using a dehydrator is a very easy and effective way to dry oranges. There is a lower chance of your oranges burning or getting ruined by the heat. Set your dehydrator on low heat or 135 degrees F and dry orange slices for 3-6 hours. Be sure to check your oranges every 30 minutes. Remove once the slices are completely dry.
Air Dry Oranges
Air drying is another simple method used for dehydrating oranges. This process does work; however, if the conditions are correct, the oranges can become moldy. Hang your slices or lie them on a drying rack for the best results. This process allows the oranges to dry without any browning or crystallization like the other methods, so your oranges will be a brighter color when they are done.
Storing and Preserving Dried Orange Slices
Once dried or dehydrated, orange slices and other citrus fruits can be stored or preserved for a long time! You can keep these beautiful slices for 2 to 3 years or more if they are correctly stored.
The best way to store dried orange slices is to layer them in a cardboard box or airtight container, add a few silica packs, and store them in a space with no moisture! They can be reused year after year this way. They will begin to change color the older they are but are still usable for decor.
If you are using them for edible purposes, store them in a refrigerator and use them within three weeks.

Frequently Asked Questions
Dried oranges are not only beautiful, but they are healthy and a great snack for you, too! They are chock-full of vitamin C and antioxidants, and dried foods can keep their nutrients longer than fresh foods.
Dehydrated orange slices can be kept for a very long time. If stored correctly, dried oranges have a shelf life of 2 years or more. It is a good idea to store them in a cardboard box (to absorb any unwanted moisture) and add a silica pack or two to the box. Please Note* Do not use orange slices stored for this long for edible purposes.
Please Note* Do not use orange slices stored for this long for edible purposes.
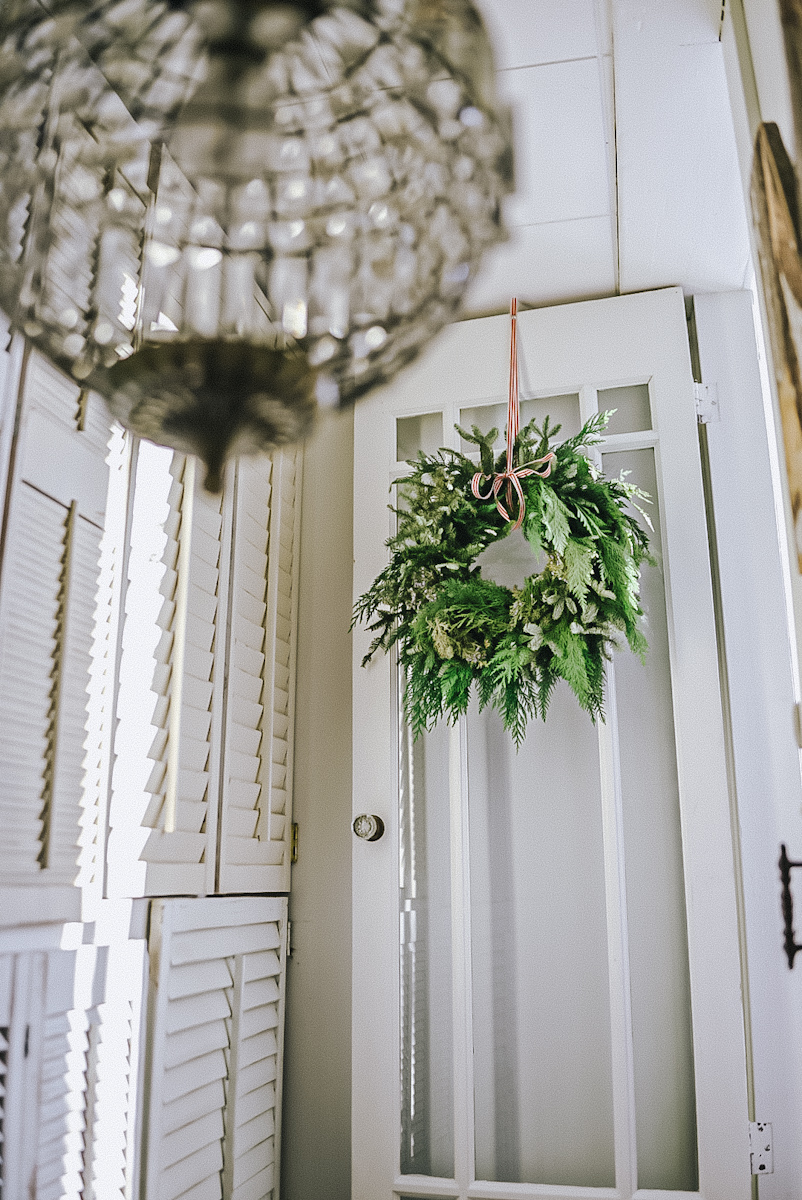
How quick and easy was that?! Now I want to hear from you! Let me know if you make these beautiful DIY dried oranges in the oven, and tell me how you display them for the holidays! Do you use them as gift tags? Maybe make a garland for your tree? I even added a few to my outdoor wreath! Wherever you use them, I want to hear about them! Let me know how you use them in the comments below!
More Holiday Inspiration and Crafts
Printable Dried Orange Slice Tutorial
A printable copy of this tutorial is available to my email subscribers. If you aren’t on my list, and would like to join, fill out the short form below, and the eBook will be sent directly to your inbox.

want to save this recipe?
Enter your email & I’ll send it to your inbox. Plus, get great new recipes from me every week!
By submitting this form, you consent to receive emails from B Vintage Style.
Equipment
- 1 Sharp Kitchen or Chef's Knife
- 1 Oven
- 1 Large Baking Sheets or Cookie Sheets
- 1 Cookie drying rack or Cooling Racks
- 1 Decorative string or Burlap Twine or Fishing Line Optional
Ingredients
- 2 Oranges Large Navel Oranges
Optional Ingredients
- 2 tbsp Granulated Sugar
- 1/4 tsp Clove
- 1/4 tsp Cinnamon
- 1/4 tsp Ginger
Instructions
- Preheat the oven to 175° F.
- Wash and dry the whole oranges.
- Using a sharp chef's knife, slice the oranges crosswise, keeping them approximately ⅛-inch thick.
- Optional. In a bowl, mix together the sugar and spices and toss the fruit slices in the mixture.
- Set slices in a single layer on baking sheets topped with wire racks. Feel free to add parchment paper underneath to save on any dishwashing.
- Cook for 4-6 hours, until dry to the touch, rotating every 30 minutes or so for even cooking.
- Once you are satisfied with the colour and texture of your orange, remove them from the heat.
- Cool completely before storing or using.




I do this every year and use them in a bowl all year along with dried pine, dried cranberries, cloves .. whatever I can find. Also use the cinnamon sticks and oranges cloves simmering on stove to fill the house with wonderful smells
Also a bag full for neighbor gifts
Thanks for sharing!
Wonderful ideas! Thank you so much for the comment and for stopping by the blog!