This post may contain affiliate links. Please read our full Disclosure Policy.

Estimated reading time:10 0 minutes
Natural egg dyes are a beautiful, natural, and eco-friendly way to dye your Easter eggs this season! Using just a few simple ingredients found in your kitchen, you can make natural dyes that are every color of the rainbow and safe enough for the kids to use.
Every year, we have so much fun trying to make different designs and details on our naturally dyed eggs. Some definitely work out better than others, but that’s part of the fun!
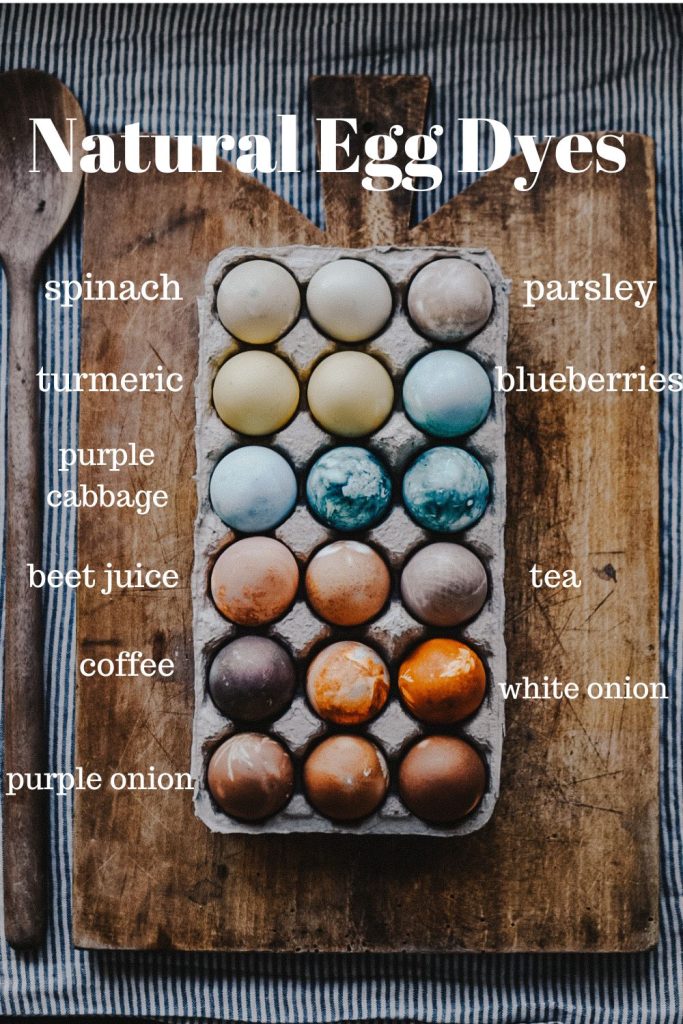
Natural Egg Dyes
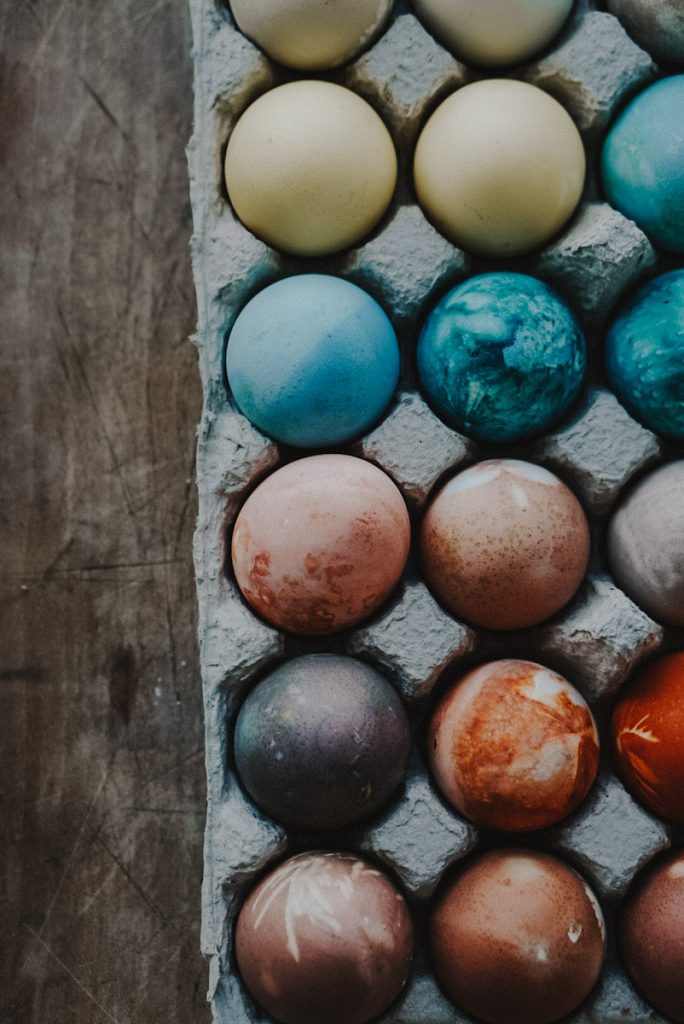
When it comes to natural Easter egg dyes, the possibilities are almost endless. From a range of natural items, such as onion skins and spices, to natural juices and beets, you can create beautiful colors with natural materials.
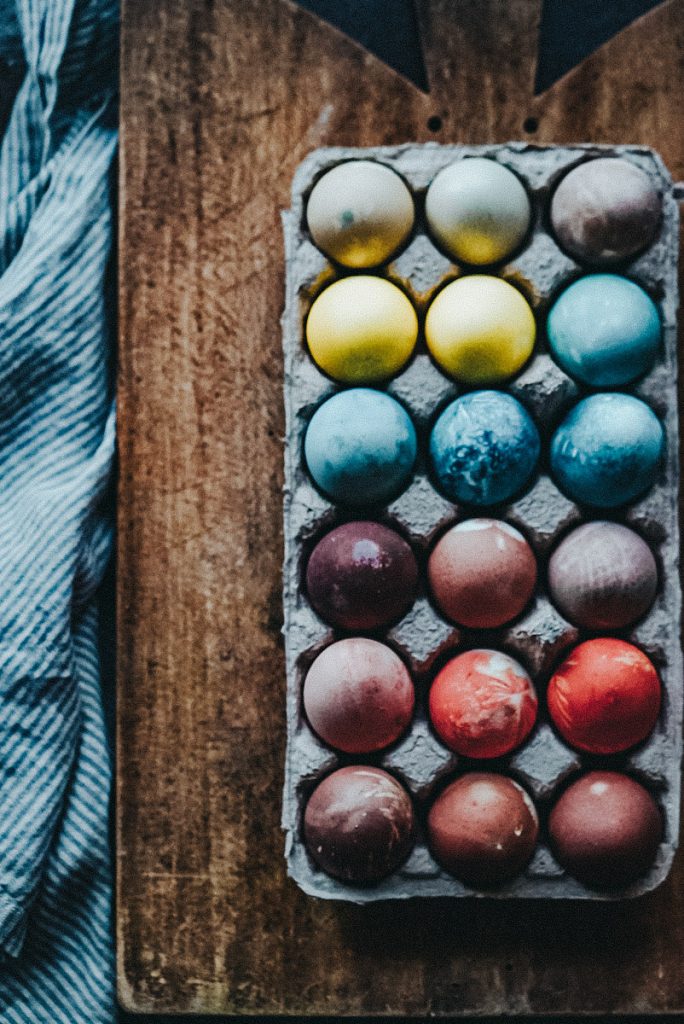
Each of these natural materials will create beautiful colors and earthy tones for your eggs! Plus, using foods like this just adds an extra layer of fun as you and your whole family experiment with different foods and techniques.
You can probably list a large selection of natural items in your kitchen that would stain your countertop, well these same items will most likely make good egg dye! We found it so exciting and interesting to see what color the eggs would turn out after they were dyed. Some will truly surprise you! Let’s dive into a few common natural dye options.
You can experiment with natural juices such as cranberry juice for pink eggs, grape juice for purple eggs, orange juice for vibrant yellow eggs, and even coffee for brown eggs. Spices are great, too, like turmeric for yellow or red cabbage for blue.
Best Eggs For Dying
When it comes to natural Easter egg dyeing, there are two important elements for the best eggs for dying.
- Fresh Eggs. Fresh eggs tend to take natural dyes better than older ones.
- Hard Boiled Eggs. Hard-boiled eggs will keep their shape when dipped in natural dyes. You will be taking your chances if you color raw eggs. It would be terrible if one cracked in the dye jar.
Although white eggs will take the true color of the dye more than brown, blue or green eggs, I wouldn’t completely rule out eggs with a colored shell. These colored eggs may give you a different variation of dyed egg that the plain white egg can’t achieve! We even ended up dipping some of ours in multiple colors of dyes to get more of a variety of tones.
Plastic eggs are not a great option for natural egg dyes. They will take on a bit of the color, but not as well as a natural egg.
Regardless of which color of egg or natural dye you choose, make sure to have fun with the experimentation process! There is no right or wrong method when it comes to creating beautiful natural Easter egg dyes!
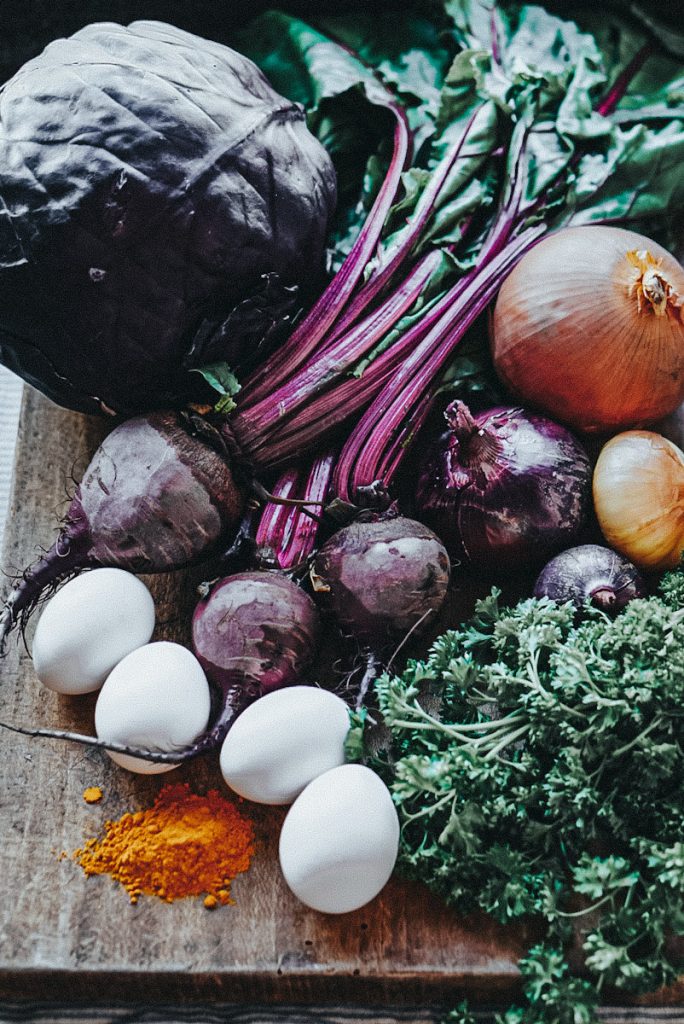
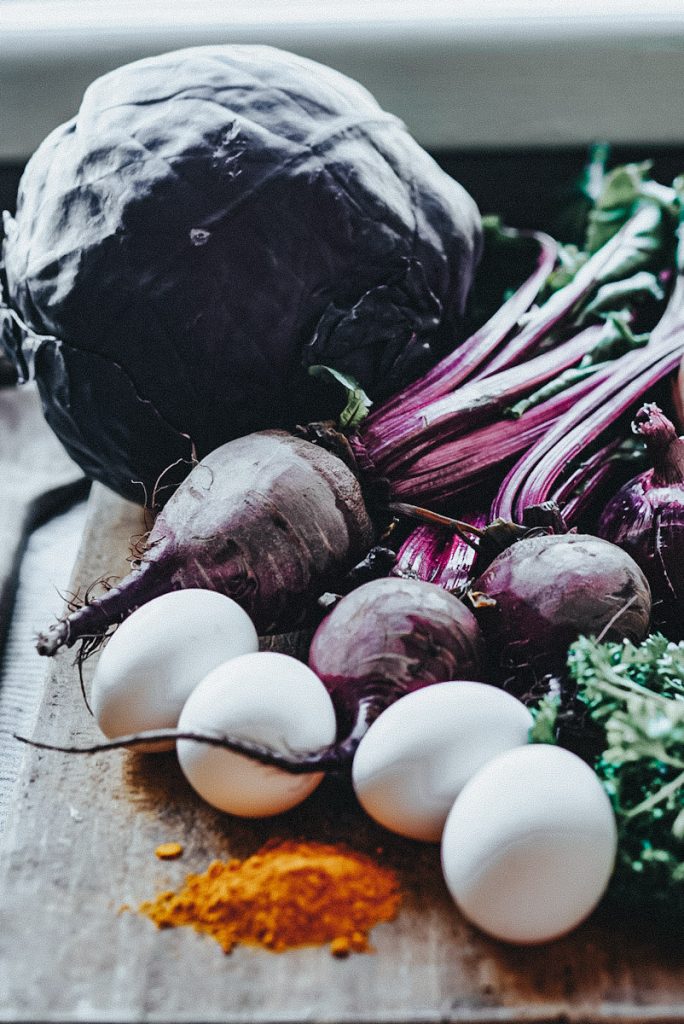
Natural Foods Used For Egg Dyes
There are countless types of ingredients that you can use to make your own vibrant, colorful egg dyes. Here are a few common types of natural foods that are sure to work as egg dyes.
1. Spices (e.g., turmeric, paprika, saffron): Depending on the spice, you can range from vibrant yellows with Turmeric to soft reds with paprika.
2. Beets. These root vegetables produce gorgeous shades of pink and red. I fully expected beets to produce a darker shade than they did, but I may have needed to boil these for a bit longer to produce a darker dye.
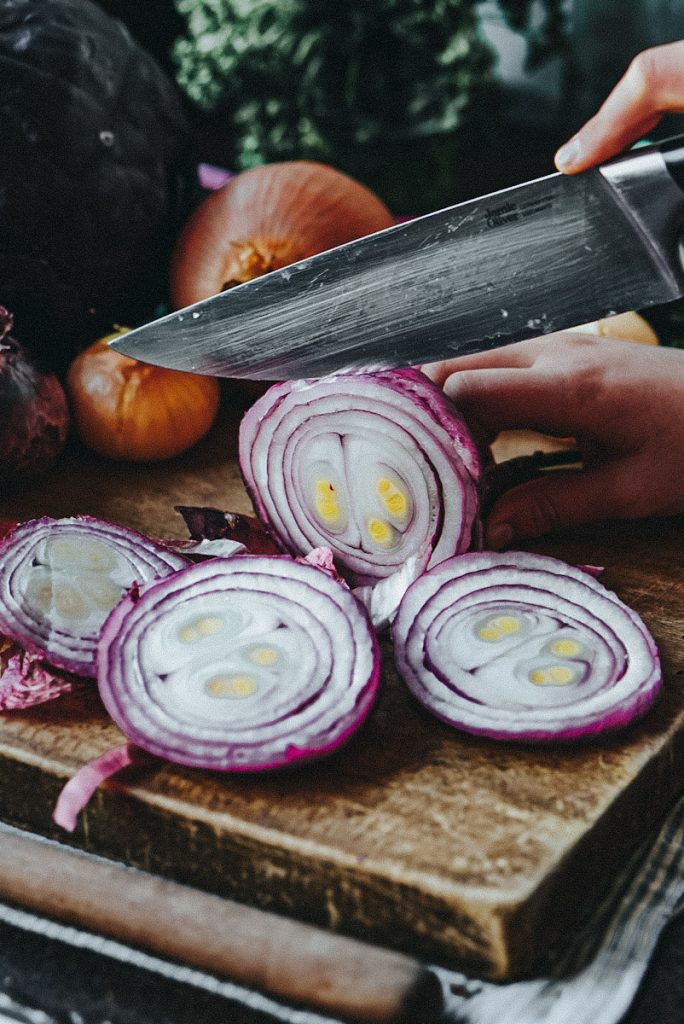
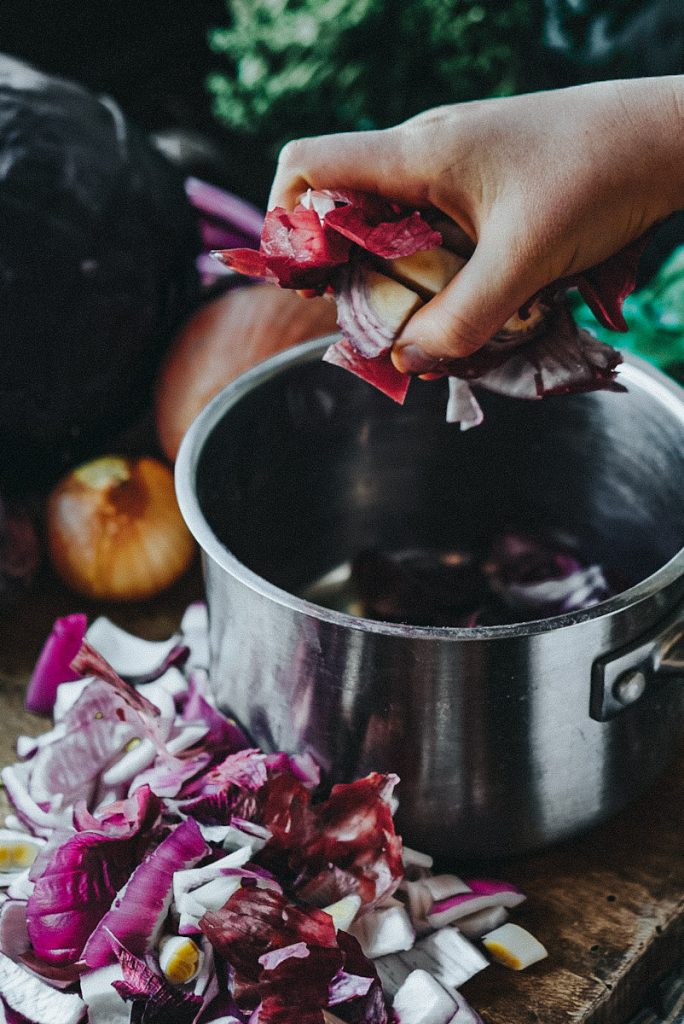
3. Yellow and Purple Onion Skins. It’s hard to believe that the skins of onions can produce such a beautiful dye! However, onions have natural hues, with yellow skins ranging from pale yellow to vibrant oranges and red onions giving beautiful deep reds. I was really impressed with the bold colors that came from the onions.
4. Spinach Leaves. Spinach produces a range of blues, greens, tans and greys. NOTE* This was one of the dyes that didn’t get as dark as I had hoped.
5. Red Cabbage. This type of cabbage yields gorgeous blues.
6. Tea Bags and Coffee. Coffee grounds give mocha brown or taupe-colored eggs, while tea leaves provide golden tans up to deep burgundies.
7 . Natural juices. (e.g., cranberry juice, grape juice, and orange juice) Lemon juice gives off bright yellows, while cranberry juice produces lovely pinks, and grape juice is great for purples.
8 . Carrots Tops. Carrot tops provide stunning greens.
9 . Fruits and Berries – (e.g., purple grapes, blueberries, blackberries) Fruits like blueberries, blackberries, raspberries, strawberries & even bananas can provide amazing colors ranging from light pinks up to brilliant purples.
10 . Nuts and Seeds – (e.g., walnuts, almonds, poppy seeds) Walnuts are great for producing dark browns, while almonds offer lighter tan hues; poppy seeds give off deep blues & even mustard seeds yield lovely soft yellows.
9 Types of Egg Dyes
Creating beautiful and unique Easter eggs with natural dyes is a fun and eco-friendly way to celebrate the holiday. Each type requires a slightly different formula to make the best egg dye, so let’s review those now.
Turmeric
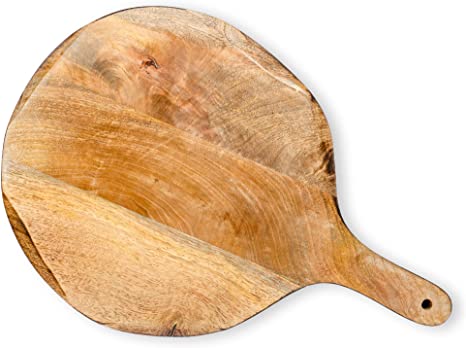
Turmeric is an excellent natural dye option. This bright yellow spice is a popular option for dying eggs naturally, as it produces vibrant shades of yellow and orange. Just be careful when handling turmeric dye; it will stain everything! My antique cutting boards are forever stained deep gold in places.
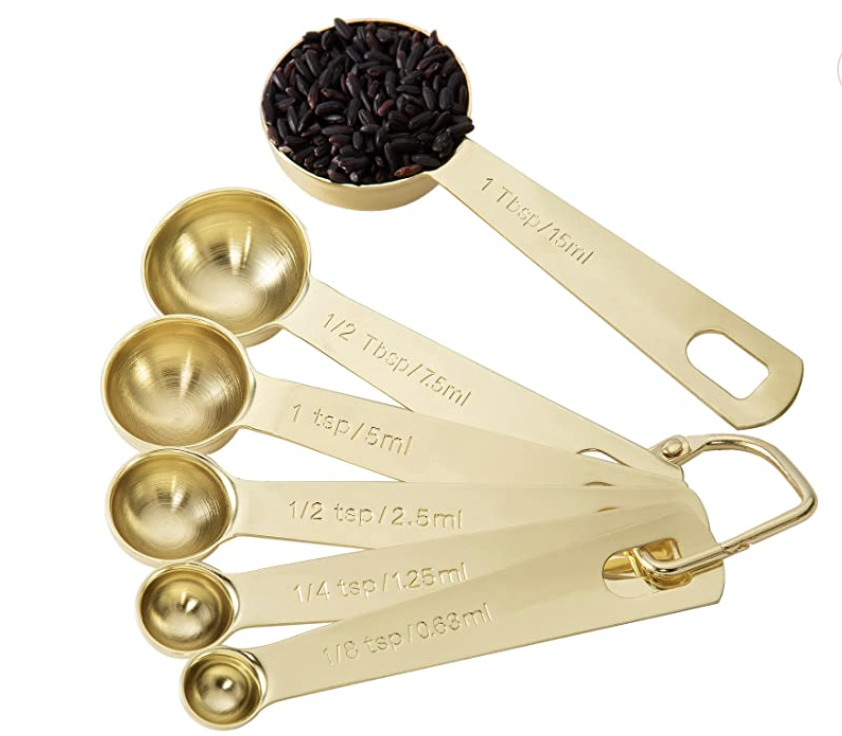
- To use turmeric as a natural dye, boil 1/4 cup or 4 tablespoons of turmeric powder in four cups of water for about 10 minutes until it becomes a deep orange color.
- Allow the mixture to cool before straining it through cheesecloth or sieve. Then, add 1 teaspoon of white vinegar to help set the color.

Beets
When boiled in water, beets produce gorgeous shades of pink, red, and crimson, creating an all-natural dye.
- Start by boiling one cup of beets in 4 cups of liquid until they are soft, approximately 20 minutes. Strain off the beet juice liquid into the dye containers.
- Then mix it with 1 teaspoon of white vinegar before dipping your eggs into the warm liquid.
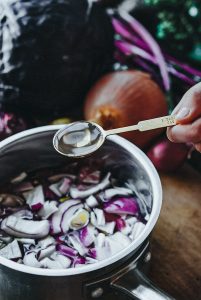
Onions
Depending on how long they are boiled in water, onions produce hues ranging from tans and pale yellows to vibrant oranges and deep reds.
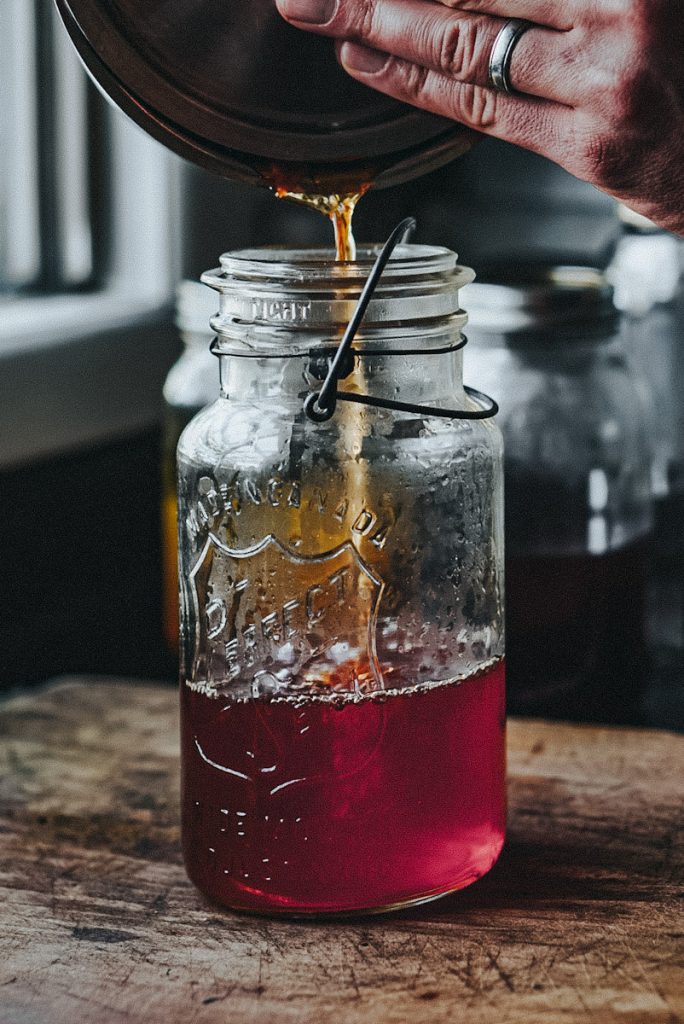
- Start by adding the skins from several onions to boiling water for 15-20 minutes until you reach your desired color. Then, strain the mixture into another pot or mason jar.
- Add 1-3 teaspoons of white vinegar to help set the dye onto your Easter eggs.
Spinach
Spinach is another popular vegetable used in creating egg dyes due to its range of blues, greens, tans, and greys, which it can produce when boiled down in water with some white vinegar added to help set the color onto your eggs.
- Begin by adding 1 cup of spinach to three cups of water and bring to a boil. Simmer for at least 10 minutes. The longer this one boils, the better and more vibrant it should become.
- Add one to three tablespoons of vinegar to help set the dye.
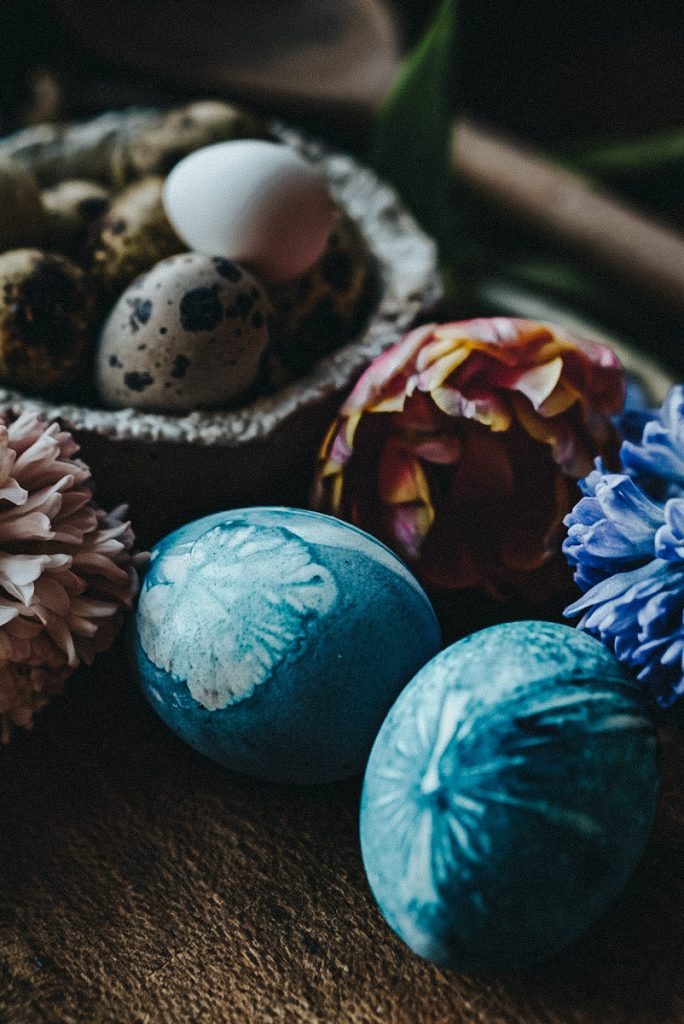
Red or Purple Cabbage
This type of cabbage produces a beautiful shade of blue eggs.
- Add one cup of chopped red cabbage to four cups of water and begin to boil.
- Simmer for 10-20 minutes until you reach your desired shade before straining off any solids and adding 1 teaspoon of white vinegar per cup of liquid to help set the color onto your Easter eggs.

Coffee & Tea
Coffee grounds can be used to create mocha brown or taupe-colored eggs, while tea leaves can give you a range from muted golden tans up to deep burgundies, depending on how strong you brew them before using them as an all-natural dye on your Easter eggs!
- Place two to four tea bags or heaping scoops of coffee into 4 cups of boiling water. Simmer for at least 10 minutes before straining out any solids.
- Add 1 teaspoon of white vinegar per cup (8 ounces) used as a base ingredient for each recipe and cold coffee or tea if desired for more subtle tones!
Natural Juices
Lemon juice gives off bright yellows, while cranberry juice produces lovely pinks. Grape juice is great for purples, although these last two require more boiling time than other natural ingredients like turmeric or beets, so plan accordingly when making these all-natural dyes!
Make sure that there’s enough liquid left after boiling so that you don’t have a solution that is too concentrated, which may lead to unsightly whitespace around areas where no dye could reach during coloring!
- Add 1-3 cups of fruit (peel included for citrus fruit) into 6 cups of hot water. Bring to a boil and then simmer for at least 30 minutes.
- Add 1 teaspoon of vinegar per cup (8 ounces) of liquid used as a base ingredient.
Carrot Tops
When boiled down, carrot tops provide stunning greens to produce a natural egg dye. Just remember that this method requires more time than most other options, as carrots, due to their higher starch content, take longer than turmeric or beets!
- Add one or two cups of carrot tops to 4 cups of water and bring to a boil for at least 30 minutes.
- Let cool, and add 1 tablespoon of vinegar for every cup (8 oz) of dye remaining.
Fruits & Berries
Fruits like blueberries, blackberries, raspberries, strawberries, and even bananas can provide amazing colors ranging from light pinks to brilliant purples, depending on how much time you spend boiling them down into an all-natural hue!
- Add 1 cup of fruit or berries to 4 cups of water and bring to a boil.
- Add 1 teaspoon per cup (8 ounces) used as base ingredients, plus some cold fruit juices if desired for more subtle colors when dying your Easter eggs this season!
Nuts and Seeds
Walnuts are great for producing dark browns, while almonds offer lighter tan hues; poppy seeds give off deep blues, and even mustard seeds yield lovely soft yellows.
- Add 1 cup of nuts to 4 cups of water in a large pot. Bring to a boil and let simmer for a minimum of 30 minutes.
- Strain out any solids then add 1 tablespoon of vinegar for every cup (8 ounces) of water remaining. Pour into a mason jar or container and let cool before adding an egg.

How To Make Natural Easter Egg Dyes
Coloring eggs with homemade egg dyes is very simple and makes for a great Easter project. Although the steps may vary slightly, depending on the ingredient you are working with, the overall process is the same. Use the following guide and step-by-step instructions to make food dyes for your Easter eggs this year.
Materials
- Large pot
- Wooden Spoons
- Fine Strainer
- Paper towels or cloth rags
- Quart or pint-sized mason jars


Ingredients
- Natural food of your choice
- Water
- Vinegar
- Hard boiled eggs
Optional
- Elastic bands
- Cheesecloth or nylons
- Flowers or petals
- Plant leaves
Directions
Instructions To Make Egg Dye
- In a large pot, add one part of the ingredient to four parts of water and bring it to a boil.
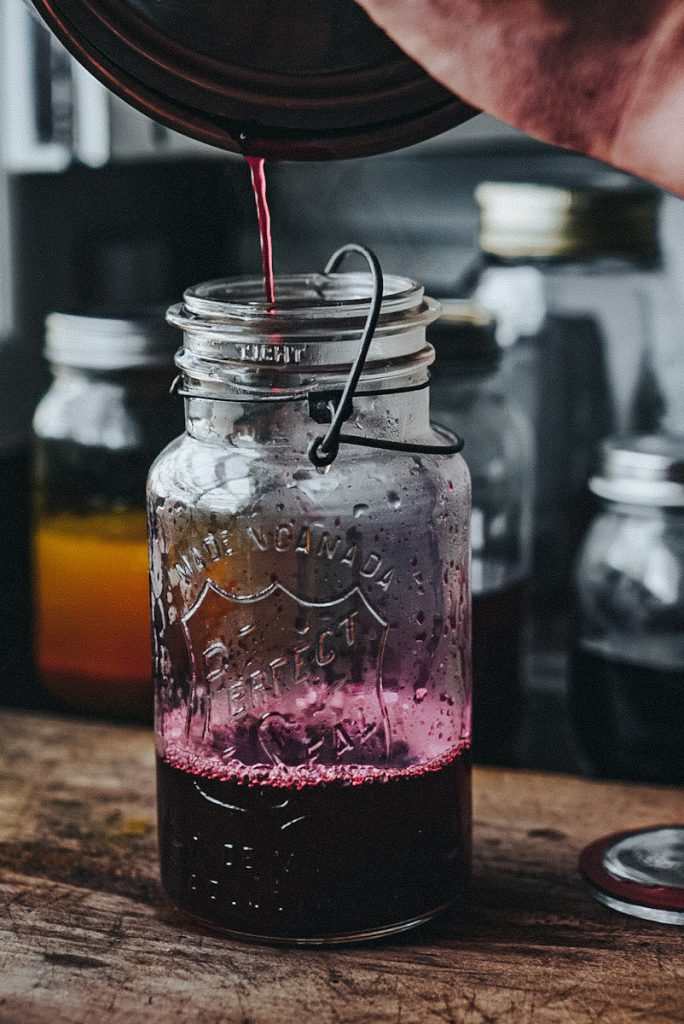
- Let the dye simmer for 10-30 minutes before straining off any solids into a bowl or mason jar. The longer you allow the natural food to cook, the more intense the dye color will become.
1-quart mason jars are a great size and height to hold egg dye. You can easily fit approximately 3-5 eggs in one jar, and the lid can also be sealed for the dye if you let the eggs sit overnight. Pint-sized mason jars will work, too.

- After you have removed all the solids, add 1 teaspoon of vinegar (any type will do) per cup (8 ounces) of water used as a base for the egg dye.
- Let cool completely and set aside.
Instructions To Dye The Eggs
- Prepare your egg to be dyed by wiping away any dirt or debris. If you wish to add a design to your egg, do so now.
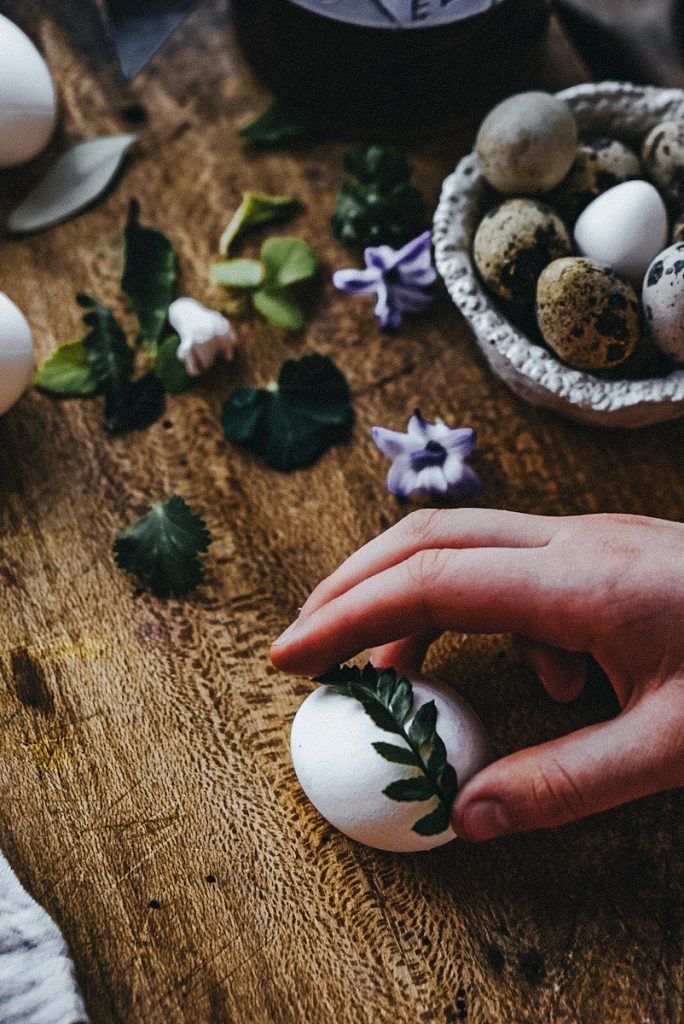
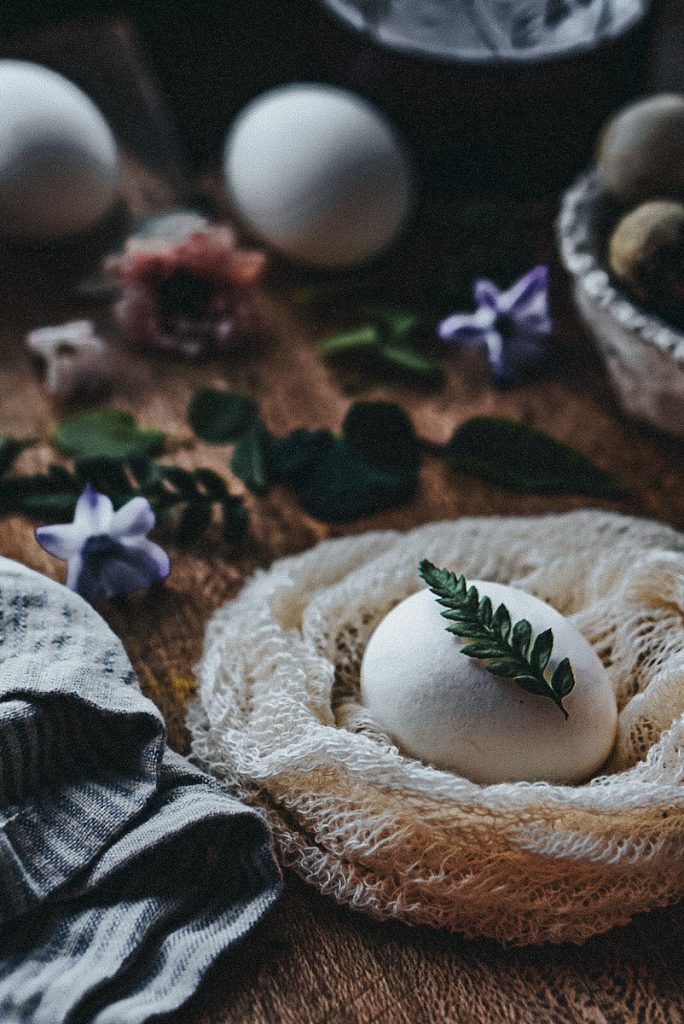
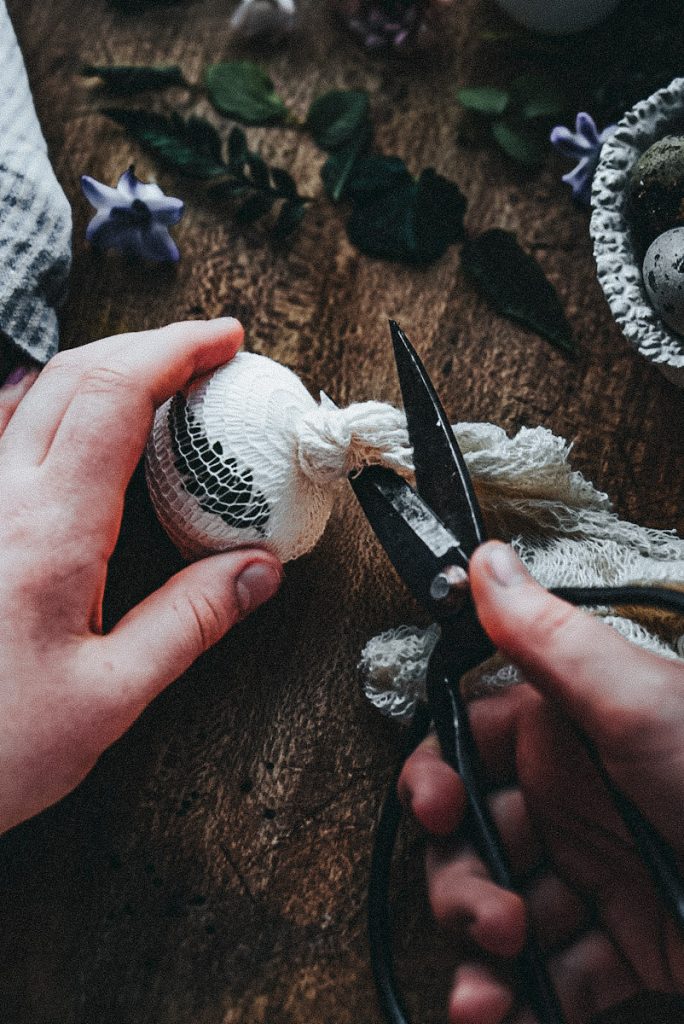
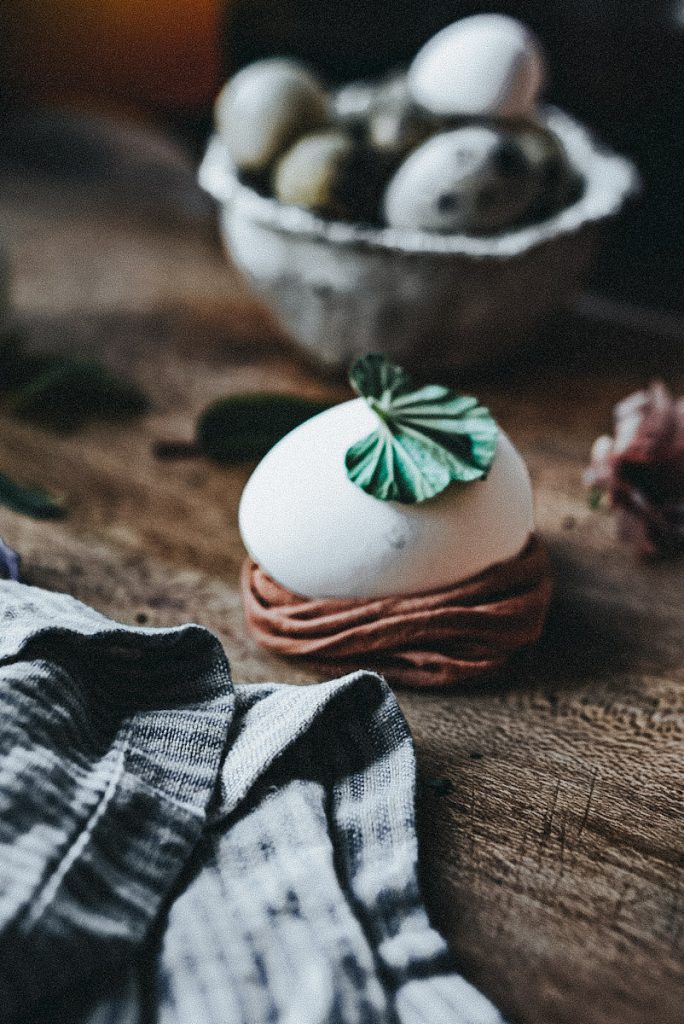
Wrap the egg in elastic bands or textured material for a striped appearance. To add a flower petal or leaf design, place a leaf or petal on the surface of the eggs and wrap it with cheesecloth or a nylon sock to secure it in place.
- Slowly and gently place the egg into the dye solution in the mason jar. Even though the egg is hard-boiled, you will still risk cracking it if you drop it into the jar.
- Soak the eggs in the dye for at least 10 minutes. Natural egg dyes take a bit longer to color eggs than traditional dyes that use food coloring.

The longer the egg is in the dye, the deeper, brighter, or bolder the intensity of the colors should be. Leaving the egg for 24 hours or even a few days is fine; just remember to refrigerate the jar if you are going to do this.
- Remove the egg and rinse the egg with water. Some dyes leave a film or residue on the eggs so you will want to pat them dry with a paper towel or rag.
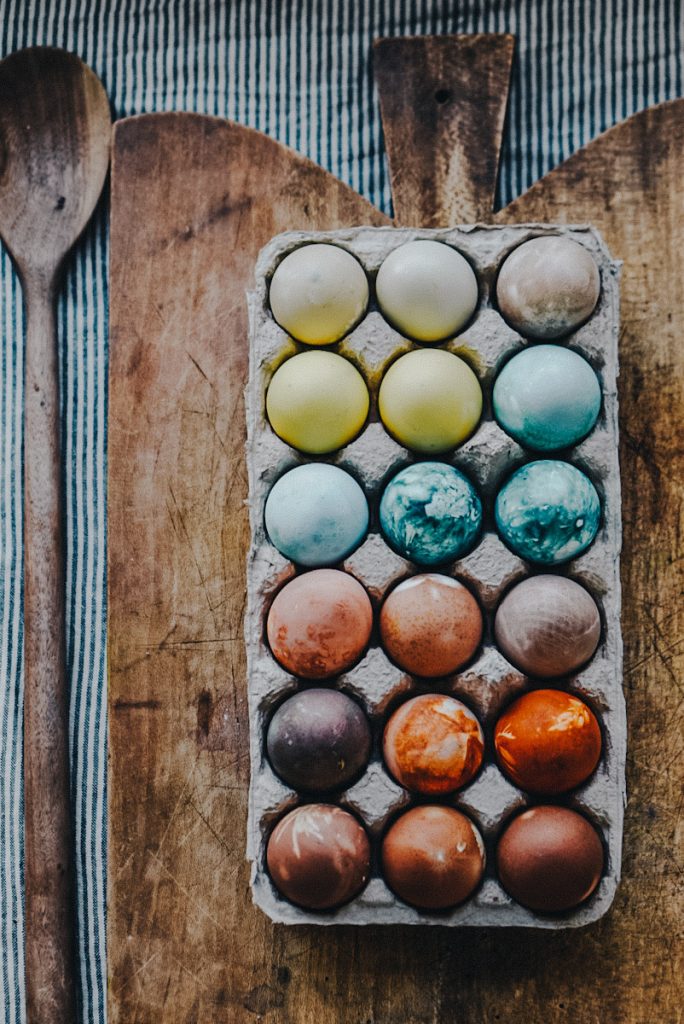
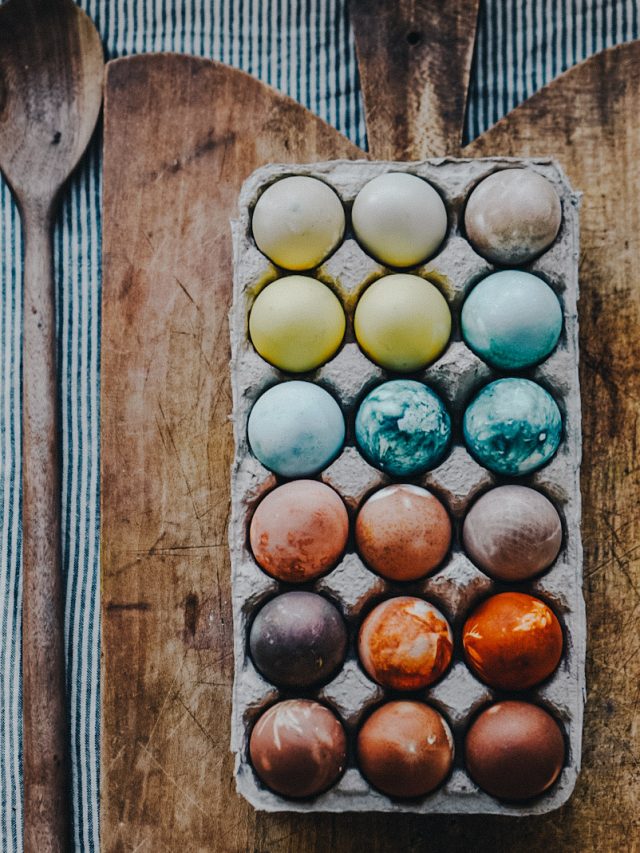
- Remove any of the elastics, nylons, or cheesecloth that you have on the eggs and let them dry completely in an empty egg carton. This part is so much fun! A little bit like Christmas morning as you open each egg up and see what color you have!
- Enjoy beautiful, naturally dyed Easter eggs. It’s time to plan the Easter Egg hunt!
Patterns Or Designs For Naturally Dyed Eggs
If you’d like to add natural designs or patterns to your eggs (such as polka dots or stripes), try adding some rubber bands around them while they’re still wet in the dye. This will block some of the colors from reaching certain parts of the eggshell, resulting in unique designs.
Using this same idea, you can add a flower petal or leaf to your egg and wrap it with nylons or mesh cheesecloth. This has to be very tight so that the item doesn’t move or allow any color to bleed underneath.
Natural Egg Dyes Tips and Tricks
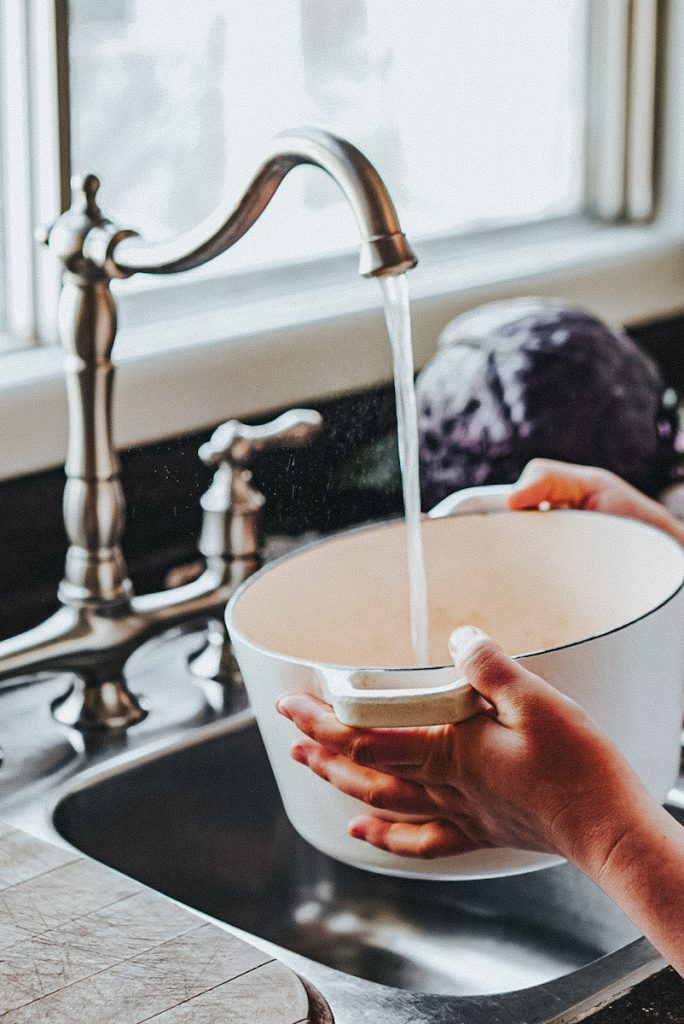
- Make sure that you remove any dirt or debris from your eggs before you begin dyeing them as this could affect the color of your finished product.
- Additionally, if you want to achieve a specific pattern with natural dyes, consider using white or brown chicken eggs, as they provide a great canvas for natural colors!
- Try using a brush to paint on the dye for a fun variation or technique.
- When your dyed egg has reached its desired color, rinse it off in cold water and let it dry before displaying it!
- The dye will be darker the longer you leave the ingredient to boil in the pot of water. At a minimum, boil each food for at least 10 minutes.
- Always add vinegar to help the dye set on the eggs and to achieve a brighter color.
- The longer you leave the egg in the dye, the brighter, richer, and more vibrant the color will become.
- Don’t be afraid to ‘double dip’ your eggs to make additional fun colors.
- Add cold fruit juices to your dye for more subtle colors when dying your Easter eggs this season.
Storing Egg Dyes
Natural egg dyes will last if stored properly. Store them in an airtight container and refrigerate for 4 to 7 days before disposing of them.
Frequently Asked Questions
When it comes to natural egg dyeing, the question of whether to use warm or cold eggs is a common one. While both methods have pros and cons, the answer ultimately boils down to personal preference. Cold eggs will give you more vibrant colors and sharper design lines, while warm eggs offer a softer look with less intense hues. Ultimately, though, it’s up to you! Just make sure that the egg is at a safe temperature to handle.
Regarding natural egg dyeing, the type of vinegar you use can make a big difference in the outcome. While any kind of white vinegar will do, some people prefer to use apple cider or white wine vinegar, which provides better results.
The acidity level in these types of vinegar helps set natural colors onto Easter eggs and gives them a vibrant hue that is hard to achieve with other methods.
More DIY And Decor Ideas
If you enjoyed coloring eggs with natural foods, you may want to try out another one of these fun projects and decor ideas.
want to save this recipe?
Enter your email & I’ll send it to your inbox. Plus, get great new recipes from me every week!
By submitting this form, you consent to receive emails from B Vintage Style.

How To Make Natural Egg Dyes
Equipment
- 1 Wooden Spoons
- 1 Fine Strainer
- 1 Paper towels or cloth rags
- 1 Quart or pint-sized mason jars
Materials
- 1 cup Natural food of your choice
- 4 cups Water
- 3 tablespoons Vinegar
- 1 piece Hard boiled eggs
Optional
- 1 piece Elastic bands
- 1 piece Cheesecloth or nylons
- 1 pieces Flowers or petals
- 1 pieces Plant leaves
Instructions
Instructions To Make Egg Dye
- In a large pot, add one part of the ingredient to four parts of water and bring it to a boil.

- Let the dye simmer for 10-30 minutes before straining off any solids into a bowl or mason jar.
- After you have removed all the solids, add 1 teaspoon of vinegar (any type will do) per cup (8 ounces) of water used as a base for the egg dye.
- Let cool completely and set aside.


Instructions To Dye The Eggs
- Prepare your egg to be dyed by wiping away any dirt or debris. If you wish to add a design to your egg, do so now.
- Slowly and gently place the egg into the dye solution in the mason jar.
- Soak eggs in the dye for a minimum of 10 minutes or until you achieve your desired color.
- Remove the egg and rinse the egg with water. Some of the dyes do leave a film or residue on the eggs so you will want to pat them dry with a paper towel or rag.
- Remove any of the elastics, nylons, or cheesecloth that you have on the eggs and let them dry completely in an empty egg carton.
- Enjoy beautiful naturally dyed Easter eggs.


Video
Notes
- Make sure that you remove any dirt or debris from your eggs before you begin dyeing them as this could affect the color of your finished product.
- Additionally, if you’re looking to achieve a specific pattern with natural dyes, consider using white or brown chicken eggs as they provide a great canvas for natural colors!
- For a fun variation or technique, try using a brush to paint on the dye.
- As soon as your dyed egg has reached its desired color, rinse it off in cold water and let it dry before displaying it!
- The dye will be darker the longer you leave the ingredient to boil in the pot of water. At a minimum, boil each food for at least 10 minutes.
- Always add vinegar to help the dye set on the eggs and to achieve a brighter color.
- The longer you leave the egg in the dye, the brighter, richer and more vibrant the color will become.
- Don’t be afraid to ‘double dip’ your eggs to make additional fun colors.
- Add cold fruit juices to your dye for more subtle colors when dying your Easter eggs this season.