This post may contain affiliate links. Please read our full Disclosure Policy.

Painting furniture is a great way to bring color and new life into your home. Whether you’re looking to update an old piece or a family heirloom, or perhaps you just want to give an old piece of furniture a facelift, painting furniture can be a simple and fun project that anyone can do with the right tools and techniques.
In this painting furniture guide, we will discuss how to prepare your furniture for painting, what kind of paint works best on different materials, and tips on how to get the best results when painting furniture. So, let’s get started!
Painting Furniture Pieces
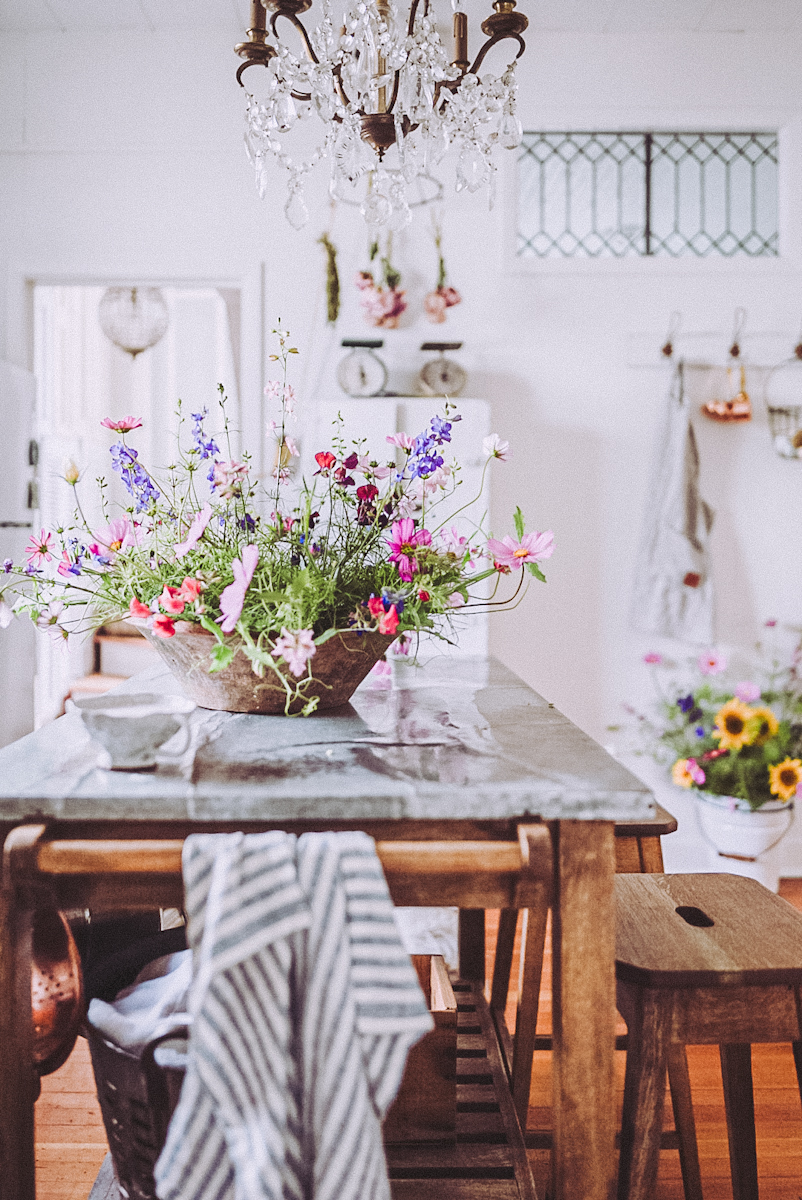
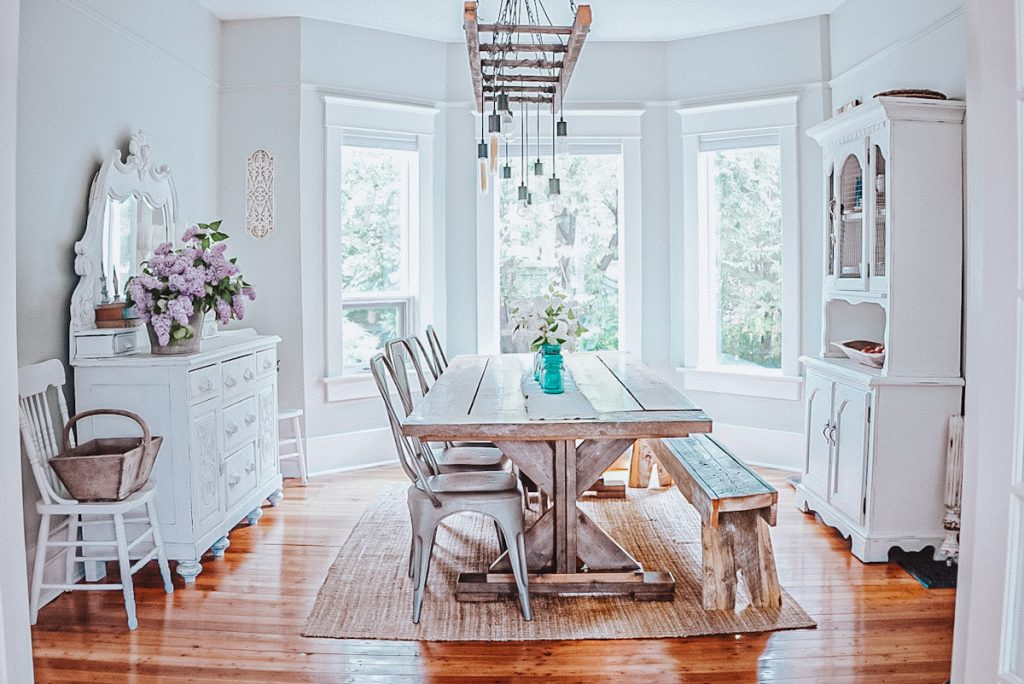
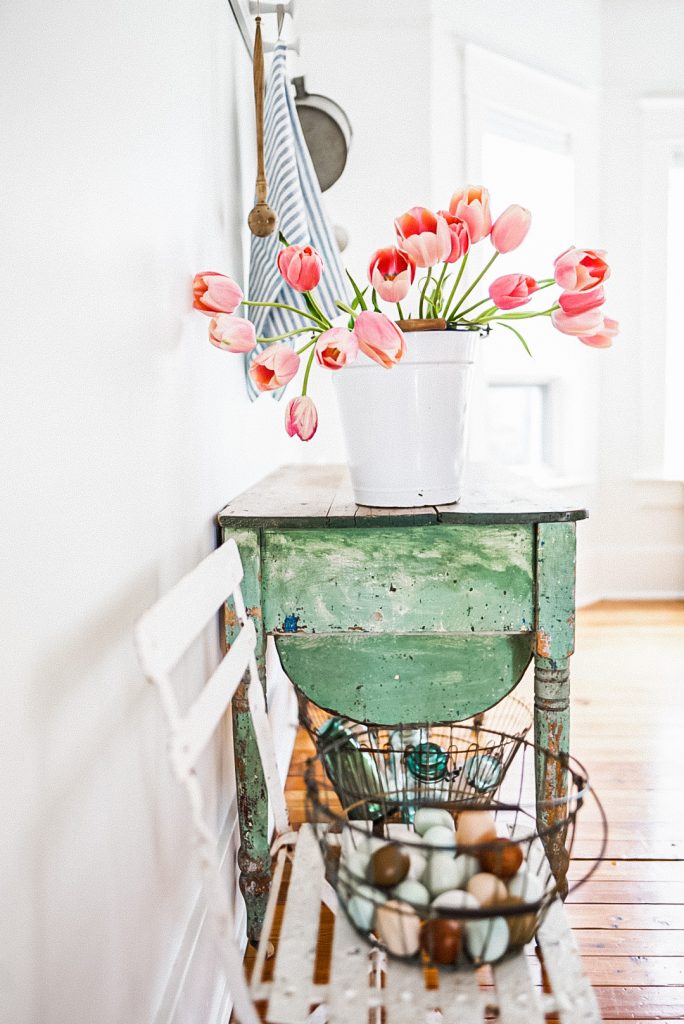
I have painted SO many pieces of furniture over the years! In fact, B Vintage Style actually began as a retail location for painted furniture! I would hunt for beautiful furniture pieces and items to which I could give an inexpensive makeover, and painted furniture was all the rage back then.
Although it isn’t as popular as it used to be, I still love the look of a painted piece of furniture, and you will find both painted and raw wood furniture throughout my home.
If you aren’t brave enough to paint your next project, you could try refinishing your furniture with raw wood instead.
Types of Furniture To Paint
Painting furniture can be a great way to transform old furniture into something new and exciting. There are different types of furniture that are easier to paint than others; let’s review those now.
Solid Wood Furniture
In my opinion, solid wood furniture is the best type of furniture to paint. It is completely made of wood. Solid wood furniture should produce a smooth finish with high durability when prepared properly.
Wood Veneered or Laminate Furniture
Although wood-veneered furniture is completely paintable, it can sometimes be less durable or more difficult to paint. Veneered furniture is usually made of a pressboard or MDF material with a thin wooden sheet adhered to the top. This veneer can sometimes separate from the MDF and peel back when it is distressed or sanded. Over time, your furniture piece may look chipped and poorly finished.

Types of Paint For Painted Furniture
The best type of paint for painted furniture definitely depends on the project. When it comes to painting wood furniture, a few options are available. Common types of furniture paint are latex paint, oil-based paint, chalk paint, milk paint, and solid wood stain.
I love to use all five furniture paints; each one gives the painted furniture piece a different look.

Latex paint is usually my preferred method, as this water-based paint is easy to apply and dries quickly. However, oil-based paints can also be used for painted furniture that requires more durability or will be exposed to excessive wear and tear. If you choose to use oil-based paint, make sure that you give it plenty of time to dry before applying any additional layers of paint.
Let’s go over the three most popular types of paint for painted furniture in a little more detail.
Chalk Paint
Chalk paint is one of the most popular types of paint for furniture projects. It provides a smooth, matte finish that holds up well over time. Lots of DIY enthusiasts also love it due to its ease of use and the unique look it can create. This type of paint requires minimal preparation before use so that you can start your project quickly.
Chalk paint is designed to adhere to almost any surface, including wood, metal, and plastic. It requires minimal preparation before painting and provides excellent coverage with a matte finish that gives the furniture an aged or distressed look.
Additionally, chalk paint dries quickly, so you get results fast without having to wait for days between coats. With chalk paint, there’s no need for primers or sanding; just apply it directly onto the surface you want to paint!

Latex Paint
Latex paint is a great option for painted furniture, providing good coverage with a matte finish. It also requires minimal preparation and cleanup, making it an ideal choice for those who want to quickly and easily get their project done without too much hassle.
Latex paints come in many different colors. You can choose the perfect one to match your existing decor or create something entirely new. Plus, latex paint is durable and will hold up against wear and tear over time, and it can be easily cleaned up if mistakes are made.
With proper surface prep, such as degreasing and sanding beforehand, you can be sure that your painted furniture will have a professional look from latex paint when you’re finished!
Oil Based Paints
Oil-based paints are a great option for painted furniture. They provide an attractive, highly durable, glossy finish, making them a great choice for furniture that will experience a lot of wear and tear. Oil-based paints tend to be more expensive than other types of paint, but the extra cost is worth it for the increased durability and resistance to scratches and stains.
Oil-based paints are much easier to clean up if mistakes are made during painting. They also require minimal preparation before use, making them ideal for projects where speed is of the essence.
No matter which type of paint you choose, make sure to properly prepare the surface by cleaning it with a degreaser and sanding it down so the paint has something to stick to. This will help ensure your painted furniture project looks professional and doesn’t end up chipping over time.
Primer on Painted Furniture
Priming the furniture piece prior to painting is very important! Primer is also referred to as the base coat of paint and will allow your paint to adhere to the furniture piece easily. For example, when painting a room or space, using a primer should save you money as you won’t need to apply as many coats of paint afterward.
Primer is also going to help prevent any staining or bleeding from the wood below from happening. If you find that your piece still shows a red stain after applying your primer, try reapplying layers of primer to the area until the bleeding stops.

The only time you aren’t required to use a primer is when you are using chalk paint. However, if you are having trouble with the wood bleeding when using chalk paint, you can always try to stop the stain by using a spot application of a primer. I like to use a spray primer for this task.
How to Seal Painted Furniture
You can use a few options of sealant to protect your furniture.
Spray Polyurethane
A spray paint top coat provides a beautiful, smooth finish for your pieces and is easy to apply.
Liquid Top Coat
Liquid polyurethane that is applied by a brush can be the most effective and durable as you can control the application’s thickness.
Wax Sealant
Wax sealant is a very effective application. It is best to warm the wax before using it on the piece so that you can apply a very thin coat.
It is also important to know the color of your top coats. Some waxes and polyurethanes will have an amber tone or be slightly yellow and can change the color of the paint once applied. Be sure to properly sand between each sealant layer to ensure the best results.
Materials Required For Painting Furniture
When painting furniture, it is important to use the appropriate materials to achieve the best results. Be sure to take extra precautions when painting wood furniture. Otherwise, the piece can be easily damaged if painted incorrectly.
Here are some items I can’t go without when I paint furniture.
Prep Supplies
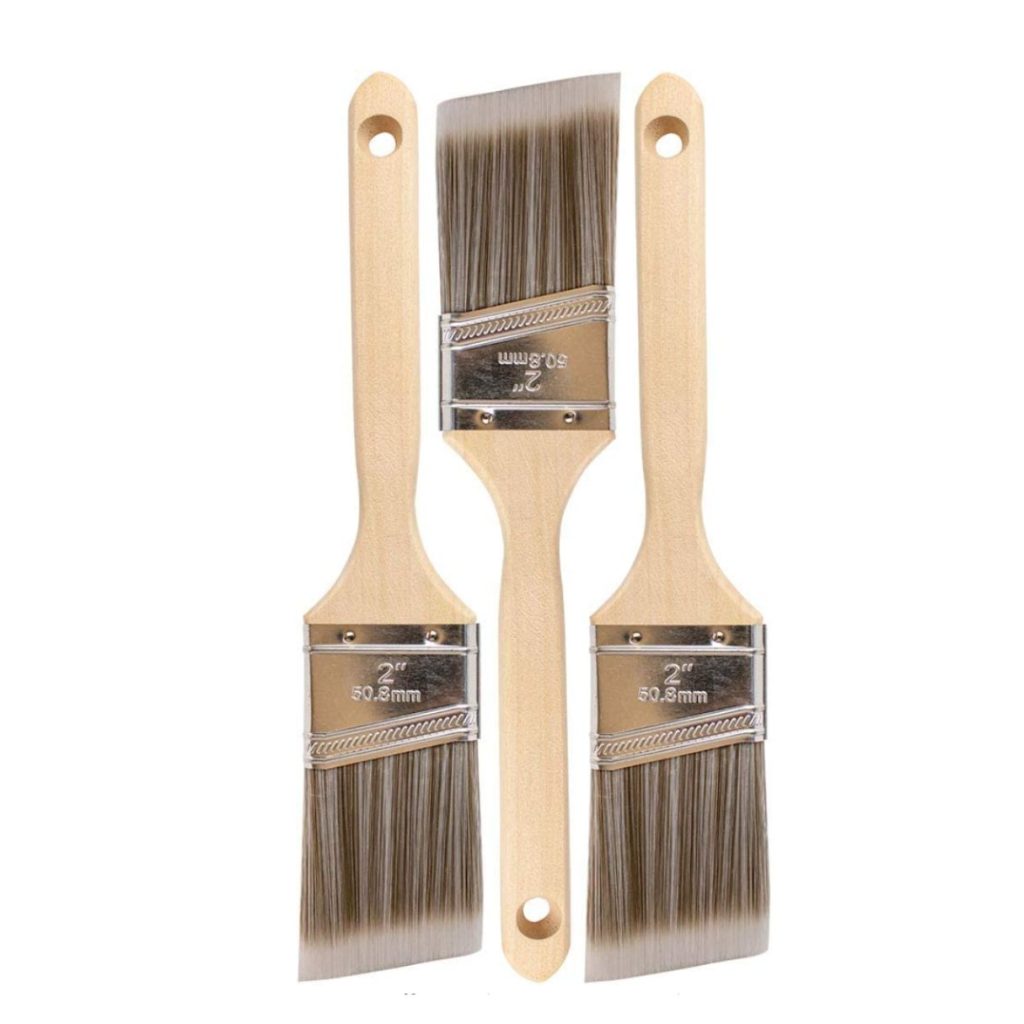
- Paint Brush—Having multiple paintbrushes for painting projects is a good idea. Angled brushes work well in corners and tough areas; having a few different sizes is good. A flat brush can also be good to have on hand for any large flat surfaces you wish to paint. Using a brush to paint the entire piece will often give a much different texture to your piece than spraying or using a paint roller.
- Paint Rollers—Having a small, lint-free roller for painting furniture is also good. A roller will give your piece a smooth, finished look.
- Painting Tray—A painting tray is not always necessary but will make painting with a roller much easier.
- Drop Cloths – having a good drop cloth is the best way to save time and energy on clean-up!
Sanders
- Sand Paper—When painting furniture, it is a good idea to have a few different strengths of sandpaper on hand. 60 grit can be used to remove any old polyurethane, and 120 grit is great for preparing your piece and distressing the edges, too.
- Orbital Sander—This sander is best used for large, flat areas of the piece. It will not work well for tight corners or tough-to-get areas.
- Mouse Sander—This sander is best for tight corners or hard-to-get areas of your furniture. It is also excellent for distressing the edges of your furniture. It is a must-have tool for your next project.
Primers, Paints and Polyurethanes
- Primer—A good-quality primer is a must! Priming an area will stop any wood bleeding and reduce the amount of paint required by the piece.
- Paint—No matter what paint you choose, make sure it is high-quality and durable.
- Polyurethane or Top Coat – Using a proper top coat or polyurethane on your painted piece of furniture should increase the longevity of the furniture.
- Furniture Wax – This can be applied to a piece of furniture that has been distressed on the edges. Wax will help seal the raw wood and condition the furniture.
All the above supplies, such as brushes, sandpaper, and primer, may be necessary depending on the type of project you are working on. With these materials in hand, you will be ready to tackle any painted furniture project! In addition to these items, you may want to use a paint sprayer or belt sander depending on how big your project is.l

Shop Painted Furniture Materials


How To Paint Furniture
Now that you have a good idea of what type of furniture is best for painting and what type of paint is best for your project, let’s start painting!
1. Preparing Furniture To Be Painted
Before starting your painted furniture project, you must take some important steps for the prep work.
The first step in painting wood furniture is to prepare it for painting. Preparing your furniture to be painted is probably one of the most important parts of the process.
Prepping the furniture properly involves cleaning off any dirt or grime! You can use a damp, lint-free rag or towel. If the piece is extremely dirty, you may want to wash it down with dish soap and Murphy’s oil mixture. Or try using a stiff bristle brush to remove unwanted dirt or grim.

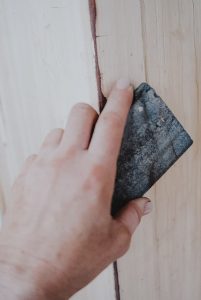
2. Sanding Painted Furniture
Using fine-grit sandpaper, lightly sand the piece down for smoother coverage. This will allow the paint to adhere better. Generally, using a 120-grit block sander to buff any furniture piece lightly is a great starting point.
For any tough corners that a sanding block cannot reach, try using the tip of a mouse sander instead.
It is also a good idea to fill any holes with wood filler. Once all of these steps have been completed, make sure to wipe away any dust before beginning the painting process.

3. Priming Painted Furniture
Paint one coat of primer on the entire piece. If you have tough wood stains, you may need to apply additional coats of primer to the stain until it no longer bleeds through. Let your primer dry completely, and then lightly sand your piece with 120-grit sandpaper before you begin the painting process.

Painting Furniture
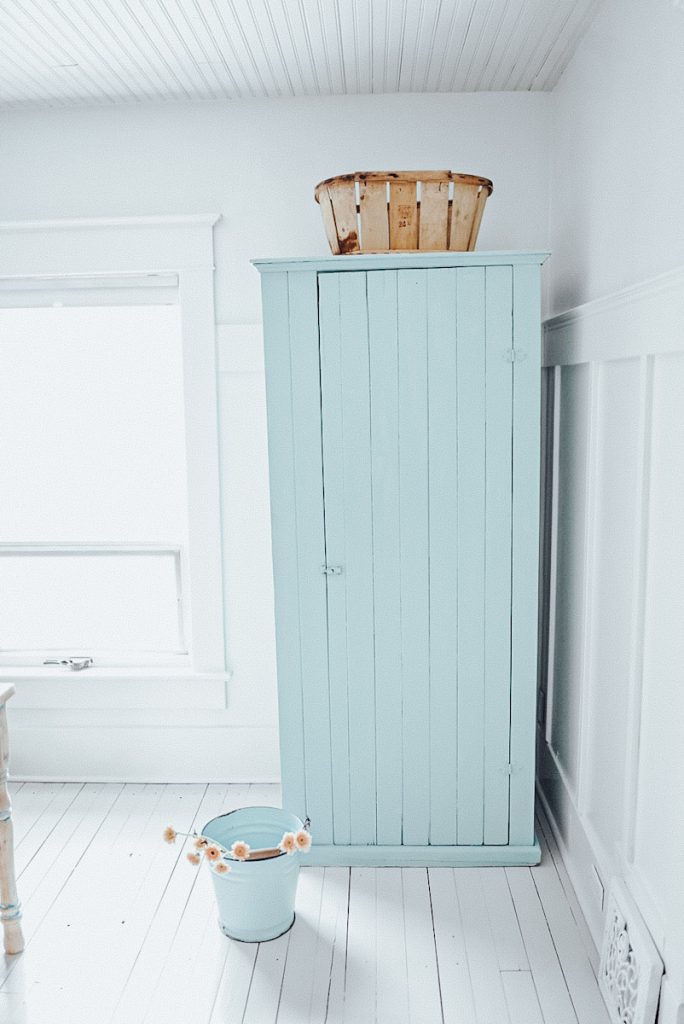
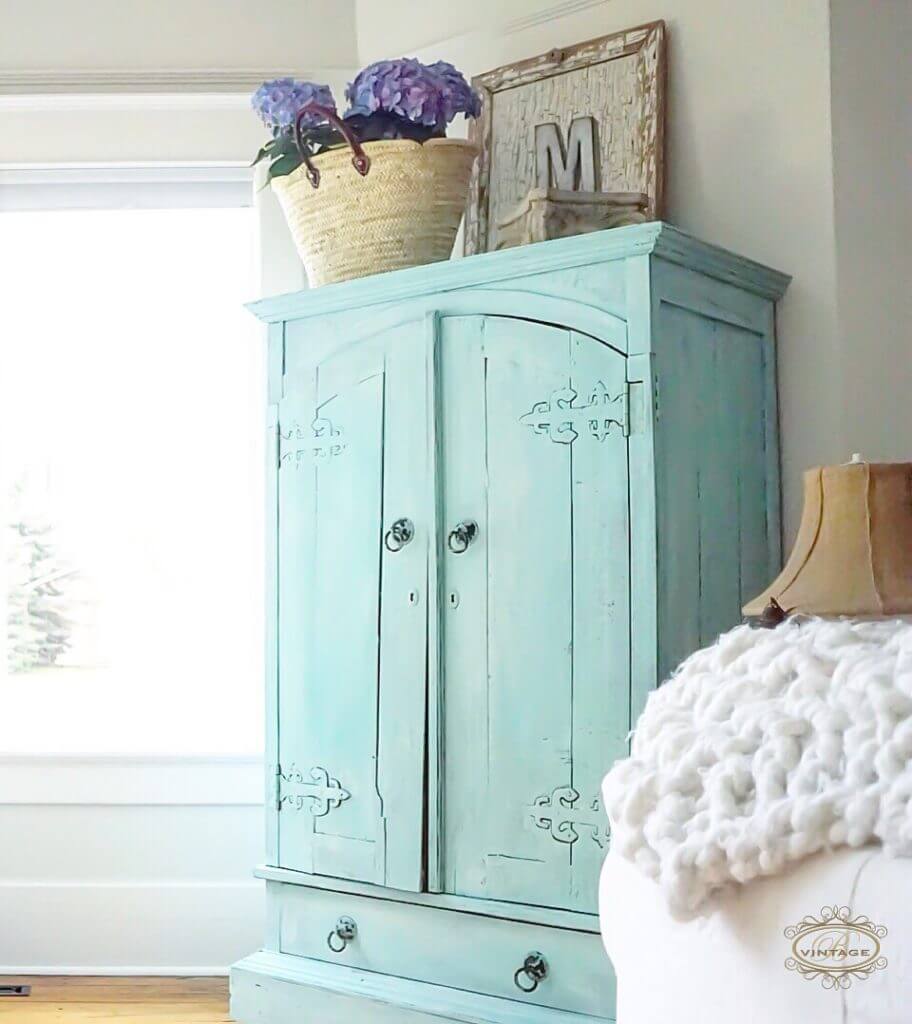
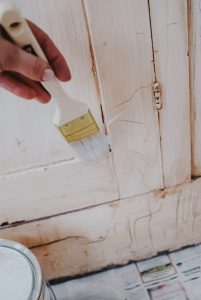
Now it is time to paint your furniture. The first step is to decide what type and color of paint you would like to use for painting your piece. My favorite color for the furniture in my home is Oxford White by Benjamin Moore.
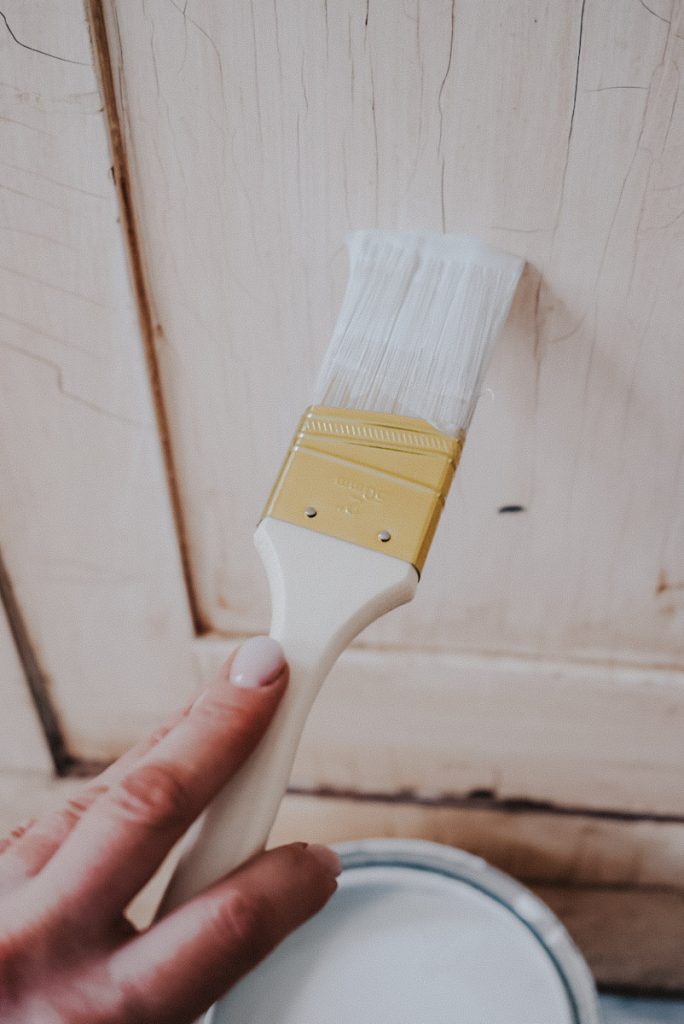
Then, begin by first painting the edges and corners of one side of the piece with an angled brush. Like coloring artwork, I like to think of painting the lines before I fill the middle of the piece.
Second, using a paint roller, apply the first coat of paint on that same side. Do not work too far ahead with the brush before you fill in with the roller, or it will leave unwanted brush lines. Continue for the whole furniture piece.
Let your coats of paint dry completely before applying the next coat. Apply light coats of paint, and 8 to 12 hours is optimal between coats. If you use your coats of paint too quickly, your paint may never dry correctly. You will just go through a ton of sandpaper when you distress the edges of the piece.
After the paint is completely dry, lightly sand the piece with 120-grit sandpaper before you apply the next coat.
Repeat the paint application and sanding steps above until you reach your desired finish on your piece.

Protecting Painted Furniture
The last step in painted furniture projects is sealing the project with a protective layer of polyurethane or varnish. This will keep your painted furniture looking great for years to come!
I love to finish most of my furniture pieces with spray polyurethane for a smooth, satin finish. To do this, simply apply a thin layer of top coat to the surface of your furniture.
If you choose to destress the edges of the wood for a shabby chic or vintage look, make sure to seal the wood with furniture wax.
Preparing and properly painting your painted furniture projects will ensure your final product looks great! You can successfully create beautiful, long-lasting creations with patience and attention to detail. Good luck!
Eliminating Brush Marks On Painted Furniture
There are two paint application processes that will allow you to paint furniture without brush marks or brush strokes.
First, try using a lint-free roller, however, be careful not to push too hard on the roller or have too much paint as it will leave edge marks.
The second is to spray your furniture with a paint spray gun or spray paint. Be sure to hold the spray far away from the piece so it doesn’t make pools or blotches on your furniture. About 12 inches is sufficient.
Using chalk paint will also help limit brush marks on your piece, as it has a self-leveling agent that eliminates brush marks.

Top Tips and Tricks For Painting Furniture
- Make sure you use the right brush and primer for your project.
- Always sand between each coat for a smooth finish.
- Let your paint dry completely in between coats! If you apply your coats of paint too quickly, the paint will ‘gum up’ and may never dry correctly.
- Lightly sand in between every coat of primer and paint. This will help your products adhere better in the long run.
- Don’t skip any steps! Although sanding between coats and priming can sometimes feel mandamus, these steps will save you time and money in the long run.
- Apply thin coats of paint as opposed to thick coats! This will give you a beautiful, durable finish to your furniture makeover.
I hope you found this post helpful and that it answers all our furniture painting questions! Looking for more paint and home projects? Take a look at how to paint wood floors and grab some tips on choosing paint colors for your home interiors!
Be sure to leave me a comment below if you have any questions or comments, and follow me on Instagram for everyday life with me! You can also add this one to Pinterest to come back to later!

More DIY Inspiration

- How To Paint Wood Floors | 5 Easy Steps
- 7 Tips on How to Decorate with Vintage Home Decor
- DIY Antique Brass Chandelier Tutorial
- 12 Easy Tips To Choose Home Colour Selections For Interiors
Frequently Asked Questions
The short answer is absolutely! You can absolutely just paint over furniture. However, painted furniture will last so much longer if you do the proper preparation prior to painting! Paint has come a long way over the years, and it is now able to adhere much better than it used to. However, with proper cleaning, sanding, and primer, painted furniture can last a lifetime.
What finish you choose for your painted furniture is completely up to you. Satin-finish paint produces a matte finish, which some find more attractive (I love the matte finish look on my painted furniture).
Semi-gloss paint is wipeable and resistant to water, which some people prefer for painted furniture.
Although some chalk paint enthusiasts would argue that you don’t need to prep or sand the surface of painted furniture when using that type of paint, I disagree. Preparing the piece prior to painting, including sanding, is very important for its durability.
Begin by wiping the piece clean with a damp cloth and some white vinegar to degrease the piece. Then buff and sand the piece lightly with 80 to 120 grit sandpaper, enough to slightly rough the surface. This sanding process will help the paint adhere better and last longer.
want to save this recipe?
Enter your email & I’ll send it to your inbox. Plus, get great new recipes from me every week!
By submitting this form, you consent to receive emails from B Vintage Style.

How To Paint Furniture
Equipment
- Paint Brush
- Paint Rollers
- Painting Tray
- Drop Cloths
- Orbital Sander
- Mouse Sander
Materials
- 1 piece Sand Paper
- 1 quart Primer
- 1 gallon Paint
- 1 quart Polyurethane or Top Coat
- 1 can Furniture Wax
Instructions
Prepping and Sanding
- Begin by prepping the furniture piece by cleaning off any dirt or grime!

- Using fine-grit sandpaper, lightly sand the piece down for smoother coverage.

- Fill any holes with wood filler. Remove any dust with a damp cloth.
Priming and Painting
- Paint one coat of primer on the entire piece. Let your primer dry completely.

- Lightly sand your piece with 120-grit sandpaper before you begin the painting process.
- Begin by painting the edges and corners of one side of the piece with an angled brush first.
- Using a paint roller, apply the first coat of paint on that same side. Make sure to not work too far ahead with the brush before you fill in with the roller or it will leave unwanted brush lines. Continue for the whole furniture piece.
- After the paint is completely dry, repeat the step of lightly sanding the piece with 120-grit sandpaper before you apply the next coat.
- Repeat the paint application and sanding steps above until you reach your desired finish on your piece.


Seal and Protect
- Simply apply a thin layer of top coat to the surface of your furniture. Furniture wax will help condition and protect the piece as well.