This post may contain affiliate links. Please read our full Disclosure Policy.
There’s something so simple yet luxurious about dark chocolate covered strawberries. Whether you’re making them for Valentine’s Day, a party, or just a special treat at home, these little bites of heaven never disappoint!
The best part? They’re so easy to make that even my little ones love helping out! My daughter has been making these since she was just five years old! You can whip up a batch with just a few ingredients and simple steps in no time.

Why We Love Dark Chocolate Dipped Strawberries
- They are Easy and Quick to Make – With just two main ingredients, these chocolate-covered strawberries come together in minutes.
- Healthy & Indulgent – Dark chocolate is rich in antioxidants, and strawberries are packed with vitamins, making this treat both delicious and nutritious.
- Perfect for Any Occasion – Whether it’s Valentine’s Day, a bridal shower, or a simple weekend treat, these are always a hit.
- Customizable – You can easily add fun toppings like sprinkles, nuts, or a drizzle of white chocolate for extra flair.
Ingredients You’ll Need
This is the best part! There are only two main ingredients required for these yummy treats!

- 1 cup dark chocolate (melting chips, chunks, or bars work great!)
- 1 pound fresh strawberries (look for ripe, firm berries with green tops)
- 1 teaspoon coconut oil or butter (for a silkier chocolate consistency)
- Parchment paper (for easy cleanup)
- Optional: Sprinkles, crushed nuts, shredded coconut, or extra melted white chocolate for drizzling.
How to Make Dark Chocolate Dipped Strawberries
Step 1: Prep Your Strawberries
Start by washing your strawberries thoroughly and checking for any that are overripe or moldy. Pat them completely dry with a towel—this step is crucial because any water left on the berries will prevent the chocolate from sticking properly.
Step 2: Melt the Dark Chocolate
There are two easy ways to melt chocolate:
- Microwave Method: Add your dark chocolate to a microwave-safe bowl. Heat in 30-second increments, stirring after each time, until smooth. Be careful not to overheat, as chocolate can burn quickly!
- Stovetop Method (Double Boiler): If you don’t have a double boiler, you can make one by placing a heatproof bowl over a pot of simmering water. Add your chocolate to the bowl, stirring continuously until melted and smooth.

Step 3: Dip the Strawberries
Insert a toothpick or hold each strawberry by the green top, then dip it into the melted chocolate, twirling slightly to ensure an even coat. Let any excess chocolate drip off before placing the dipped strawberry on a parchment-lined baking sheet.


Step 4: Add Fun Toppings (Optional)
Before the chocolate hardens, sprinkle your strawberries with crushed nuts, shredded coconut, or sprinkles. You can also drizzle some melted white chocolate over them for an elegant touch.
Step 5: Let Them Set
Place the baking sheet in the refrigerator for about 15-20 minutes to allow the chocolate to harden completely.
Step 6: Serve and Enjoy!
Once the chocolate is firm, your strawberries are ready to be enjoyed! Arrange them on a platter, or box them up for a homemade gift.
Deb’s Tips
- Use high-quality dark chocolate – The better the chocolate, the richer the taste! Opt for at least 60% cacao for a deep, intense flavor.
- Make sure strawberries are completely dry – Water can make the chocolate seize up and not adhere properly.
- Work quickly – Melted chocolate can harden fast, so dip and decorate as soon as possible.
- Don’t overheat the chocolate – Slow and steady wins the race! Overheated chocolate can become grainy.
- Enjoy fresh – These strawberries are best enjoyed the same day but can be stored in the fridge for up to 24 hours.

How to Store Dark Chocolate Dipped Strawberries
While these treats are best eaten fresh, you can store them in the fridge:
- Place them in an airtight container lined with parchment paper.
- Keep them in a single layer to prevent sticking.
- Enjoy within 24 hours for the best taste and texture.
Frequently Asked
Can I use milk or white chocolate instead of dark chocolate?
Absolutely! While dark chocolate provides a rich and slightly bitter contrast to the sweetness of the strawberries, milk and white chocolate work beautifully, too.
Why isn’t my chocolate sticking to the strawberries?
If your strawberries aren’t completely dry, the chocolate may not adhere properly. Be sure to pat them thoroughly with a towel before dipping.
Can I freeze chocolate-dipped strawberries?
No, I don’t recommend it. Freezing will cause the strawberries to release moisture when they thaw, making the chocolate sweat and turn sticky.
How can I make them extra fancy?
Try drizzling melted white or milk chocolate over the dipped strawberries, or sprinkle them with sea salt for a gourmet twist.
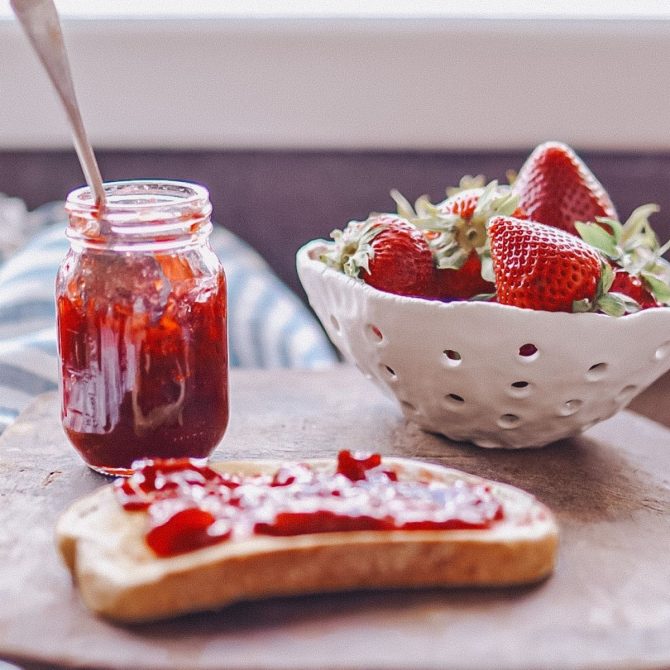
More Strawberry Recipes
I’d love to hear how your batch turns out! Leave a comment below and let me know if you tried any fun toppings. And don’t forget to pin this recipe on Pinterest so you can come back to it again and again! Here are a few more strawberry recipes to try out!
want to save this recipe?
Enter your email & I’ll send it to your inbox. Plus, get great new recipes from me every week!
By submitting this form, you consent to receive emails from B Vintage Style.

Equipment
Ingredients
- 1 pound strawberries
- 5 oz dark chocolate melting chips, chunks, or bars work great!
Optional
- 1 tsp coconut oil or butter for a silkier chocolate consistency
- 1 tbsp Sprinkles, chopped pistachios, crushed graham crackers, or extra melted white chocolate for drizzling.
Instructions
Prep Your Strawberries
- Start by washing your strawberries thoroughly and checking for any that are overripe or moldy. Pat them completely dry with a towel—this step is crucial because any water left on the berries will prevent the chocolate from sticking properly.
Melt the Dark Chocolate
- Microwave Method: Add your dark chocolate to a microwave-safe bowl. Heat in 30-second increments, stirring after each time, until smooth. If needed, stir in 1 teaspoon of coconut oil or butter to make the chocolate silkier.
- Stovetop Method (Double Boiler): If you don’t have a double boiler, you can make one by placing a heatproof bowl over a pot of simmering water. Add your chocolate to the bowl, stirring continuously until melted and smooth. Stir in coconut oil or butter for extra shine.
Dip the Strawberries
- Insert a toothpick or hold each strawberry by the green top, then dip it into the melted chocolate, twirling slightly to ensure an even coat. Let any excess chocolate drip off before placing the dipped strawberry on a parchment-lined baking sheet.
Add Fun Toppings (Optional)
- Before the chocolate hardens, sprinkle your strawberries with crushed nuts, shredded coconut, crushed graham crackers, or sprinkles. You can also drizzle some melted white or caramel chocolate over them for an elegant touch.
Let Them Set
- Place the baking sheet in the refrigerator for about 15-20 minutes to allow the chocolate to harden completely.
Step 6: Serve and Enjoy!
- Once the chocolate is firm, your strawberries are ready to be enjoyed! Arrange them on a platter, or box them up for a homemade gift.
Notes
- Use high-quality dark chocolate – The better the chocolate, the richer the taste! Opt for at least 60% cacao for a deep, intense flavor.
- Make sure strawberries are completely dry – Water can make the chocolate seize up and not adhere properly.
- Add coconut oil or butter – This helps create a smoother, silkier coating.
- Work quickly – Melted chocolate can harden fast, so dip and decorate as soon as possible.
- Enjoy fresh – These strawberries are best enjoyed the same day but can be stored in the fridge for up to 24 hours