This post may contain affiliate links. Please read our full Disclosure Policy.
Creating woven garden beds using a wattle fence is a beautiful way to enhance your garden. This eco-friendly method uses natural wood materials like branches and twigs to create beautiful, rustic planters that add charm to any outdoor space.
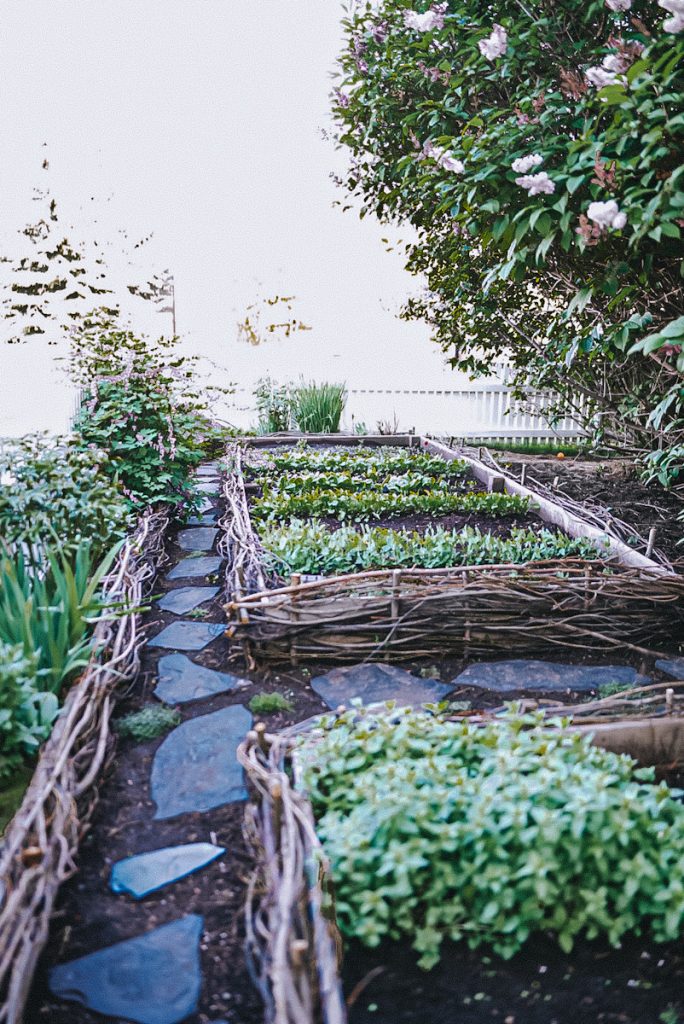
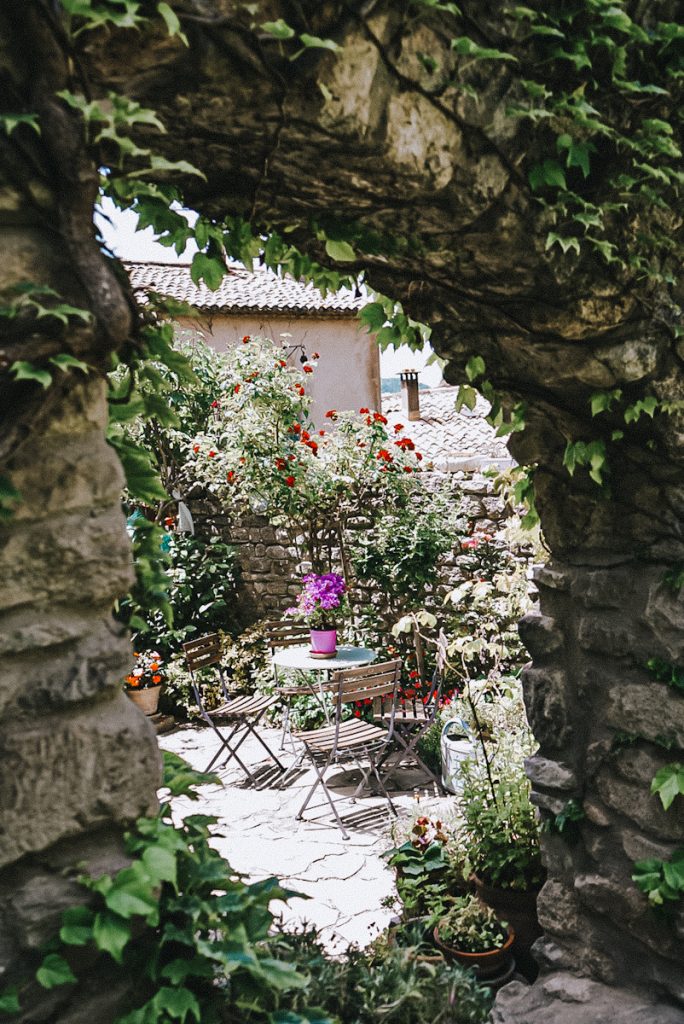
I have traveled a lot over the years and have always loved seeing gardens in different parts of the world—not just city gardens but residential and local gardens, too. European gardens always felt a bit more enchanting and magical than other places, and I wanted to have something similar for my gardens at home.
Growing up, my mother always did willow work. She was forever weaving baskets, tables, and even beautiful chairs, and I would always try a project or two, too. The farm I grew up on has an abundance of willow, so I decided to try the wattle method for the garden beds in our secret, magical garden. These beautiful woven garden beds we so easy to make and have held up beautifully over time.
What is a Wattle Fence
A wattle fence is a classic style of fencing that uses interwoven branches, twigs, or reeds to create a sturdy barrier. This technique has been used for centuries and is known for its rustic appearance and sustainable construction. Traditionally, these types of wooden fences are often used for garden enclosures, livestock pens, or decorative fencing around properties.
Best Type Of Wood To Use
The best wood types to make a rustic wattle fence or woven planter boxes are flexible, lightweight, and durable. There are many different types of wood that you can use but a few recommended weaving material options that are commonly found in North America are:
- Willow: Willow branches are pliable and easy to weave, making them ideal for wattle fencing.
- Hazel: Hazelwood is strong yet flexible, making it a good choice for wattle structures.
- Redwood: Redwood is naturally resistant to rot and insects, making it suitable for outdoor projects like fences and planter boxes.
- Cedar: Cedar wood is lightweight, aromatic, and resistant to decay, making it a durable choice for wattle fencing.
How To Create A Wattle Fence Garden Box
Hopefully you have access to some beautiful wood and are ready to make a stunning raised wattle fence garden.
Equipment
Materials
- Long, flexible branches or straight stems (willow, hazel, or any pliable wood or flexible saplings )
- Wooden stakes or posts
- Twine or wire for tying
Instructions
1. Choose a Location
Select a suitable area in your garden for the wattle fence garden beds. Ensure the spot receives adequate sunlight and is accessible for gardening tasks. Clear the area of any weeds, rocks, or debris. Use a shovel or garden fork to loosen the soil and create a level surface for the garden beds.
2. Gather Materials
Begin by gathering your wood. Depending on your project, try to get as many large tree branches with smaller branches as possible. Gather long, flexible branches or saplings (such as willow or hazel) that can be easily woven.
You will want to use your wood quickly after cutting it to keep it the most flexible. Some people like to soak the willow in water before using it to improve flexibility; however, I didn’t do this.
**If your willow has any excess leaves, you will want to strip them off before starting the project.
3. Construct the Perimeter
Using some of the larger willow tree trunks, cut 12″ stakes. Start by driving the sturdy wooden stakes or posts into the ground at regular intervals (approximately 12″ apart ) along the perimeter of your garden bed area. The spacing will depend on your wattle fence’s desired height and length. I went around my existing beds, so I used it as a guide.

Note* If you are going around existing raised planter boxes, make sure to leave about 1.5″ space between the stake and the existing box. Also, hammer a stake at each corner of the bed. You will use these to secure the sides when you are weaving.
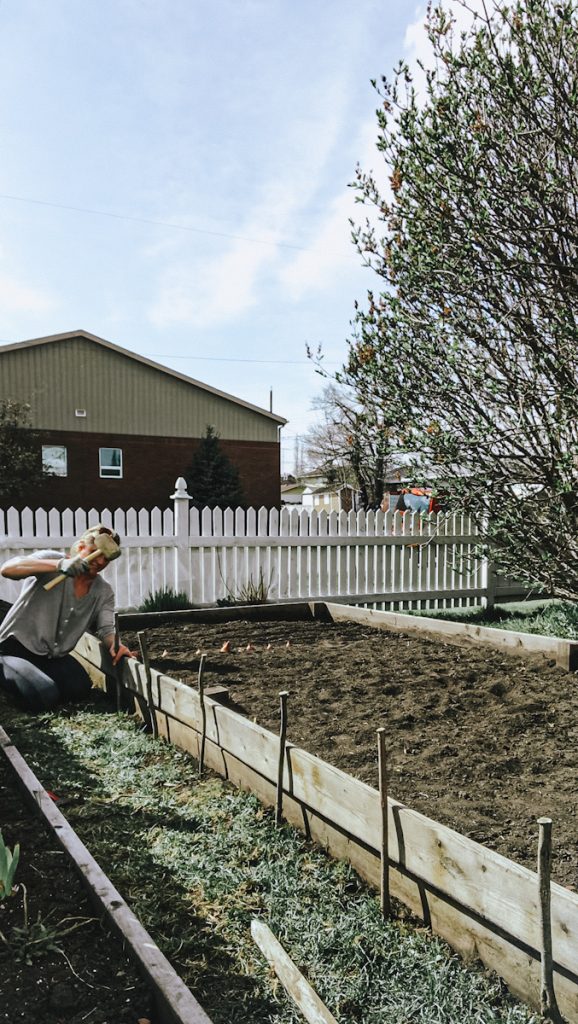
4. Weave The Wattle Fence
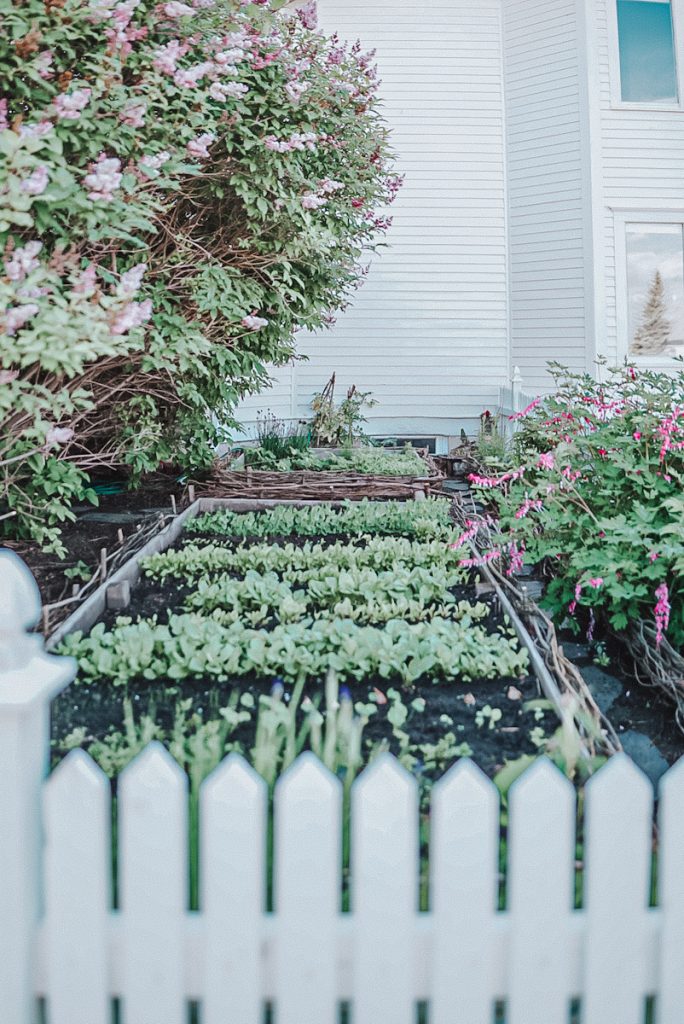
Now, you can begin weaving! Use thick, long branches to begin weaving and threading the branches between the wooden stakes; start on one side and continue around all four sides until you are back at the first corner. Like the image below, you will want to crisscross or alternate the pattern to create a sturdy and decorative fence structure. Overlap the branches slightly as you weave to ensure a tight weave and help your structure become strong.
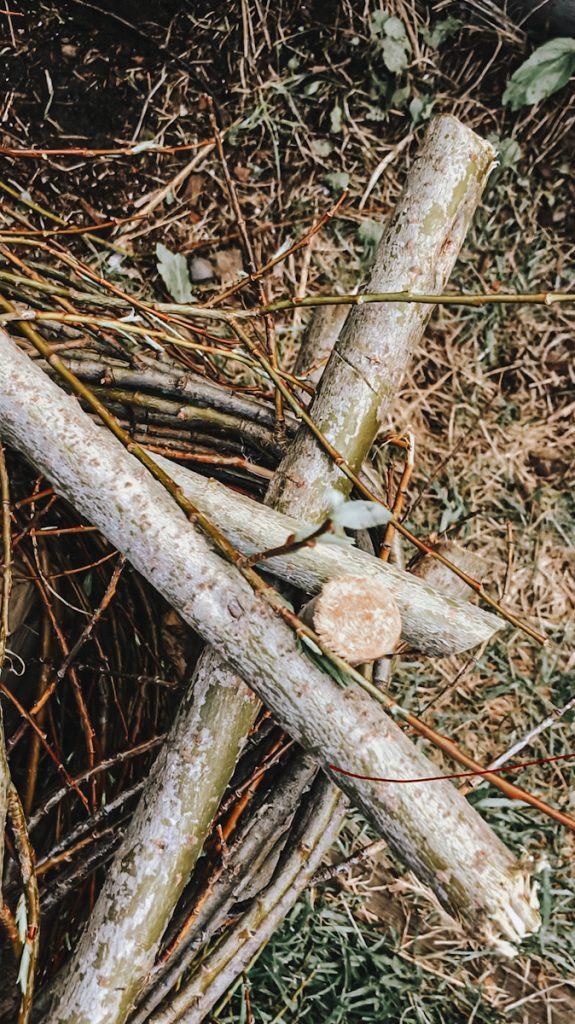
5. Fill in the Woven Fence
Once you have a good base, see where to fill or add more slender branches to the structure. I used a good mix of all sizes of willow to make my beds. Continue until you reach your desired bed height. If you made your willow beds around existing raised planter boxes, use a few screws and secure the beds to the wooden boxes. This should help with the strength of the beds as well! Once you are completely happy with the fullness, size, and height of your raised planted boxes, you can go around and snip off any loose pieces that don’t seem to want to cooperate!
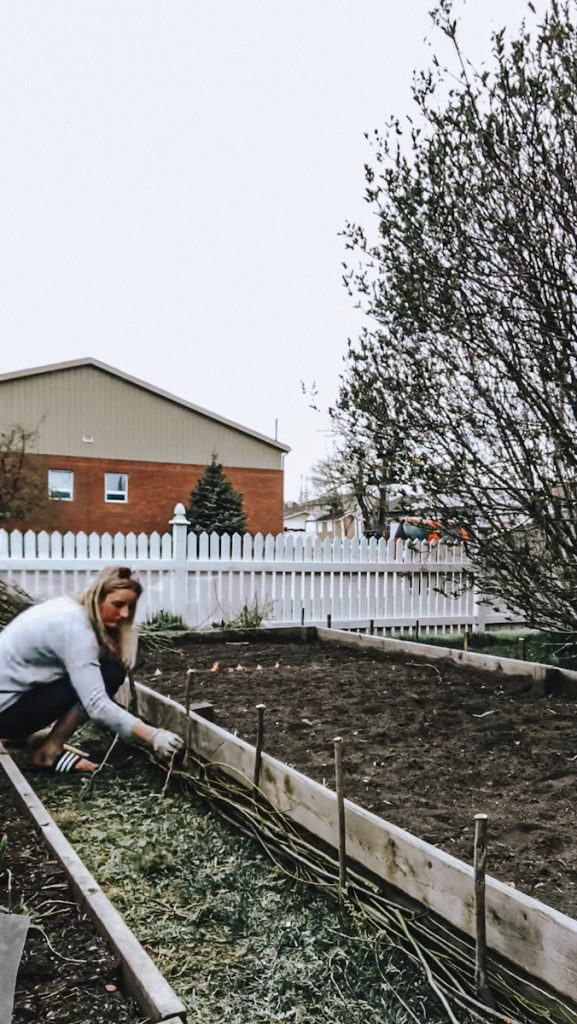
6. Add The Soil
Once the wattle fence perimeter is constructed, you can fill the garden beds with a mixture of soil and compost, ensuring good drainage and fertility for planting.
7. Plant Your Garden
Now that your wattle fence garden beds are ready, it’s time to start planting! Choose flowers, herbs, vegetables, and shrubs to create a beautiful garden.
Maintenance And Care For a Wattle Fence Garden
This type of garden box requires some maintenance. These can be done at the beginning of the garden season before planting your seeds.
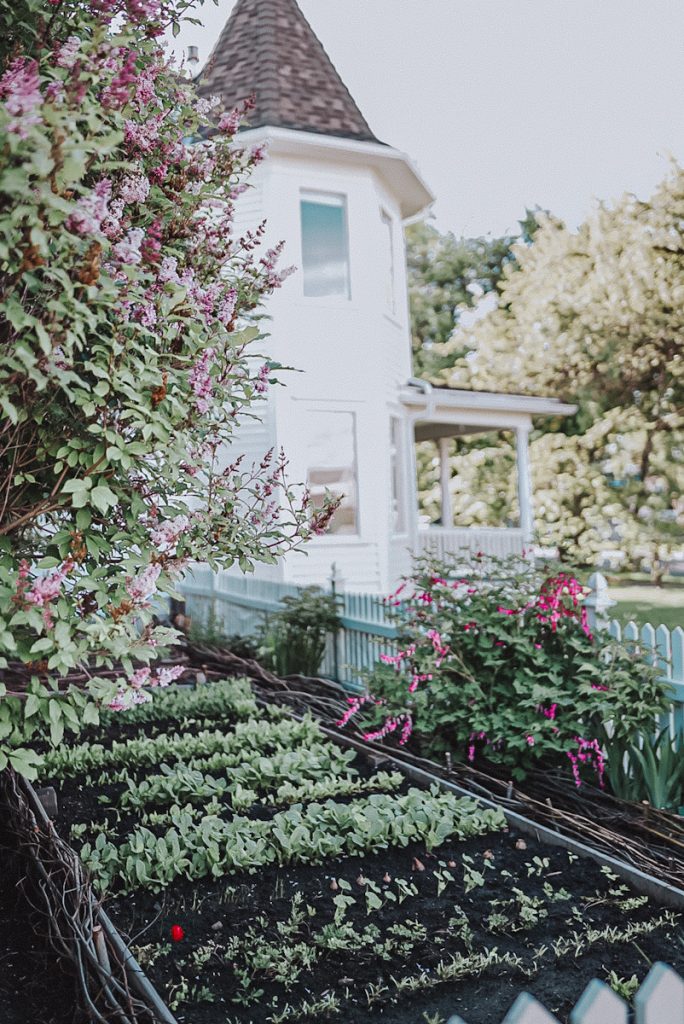
- Inspect the garden fence for any signs of damage, loose weaves or branches, gaps, or wear and tear, and repair it as needed. Fill in any spaces with small branches.
- Add a protective layer to the wood to keep the wood healthy every year. I like to use a mixture of linseed oil and turpentine and simply wipe it on the wood with an old rag or paintbrush. This is a great way to help prolong the wood’s life, especially if you get snow in the winter months.
Tips And Tricks
- Weather permitting, try to collect your branches before the leaves begin budding out on them. This is the best time as it will save you so much time stripping the leaves off.
- You can soak your wood in water prior to use for more flexibility.
- Add climbing plants to your garden that can climb your wattle garden bed. It will add a pretty element.
Get my FREE GUIDE to Starting Your Garden!
This amazing four-page Free Gardening Guide will walk you through what to plant next and even give you a garden planting template to use!
Readers Questions
This completely depends on where you live and how well you maintain your wattle fence. The lifespan can vary depending on the type of wood used, climate conditions, and maintenance. A well-built wattle fence can last anywhere from 5 to 15 years or more with proper care. I have had mine for almost 5 years in a harsh Canadian winter climate, and it is still holding strong.
I have only ever used willow, and I love working with it! However, the best trees for a wattle fence are flexible branches that are easy to weave, such as willow, hazel, and dogwood.
More Garden Inspiration
want to save this recipe?
Enter your email & I’ll send it to your inbox. Plus, get great new recipes from me every week!
By submitting this form, you consent to receive emails from B Vintage Style.
How To Make Wattle Fence Woven Garden Beds
Equipment
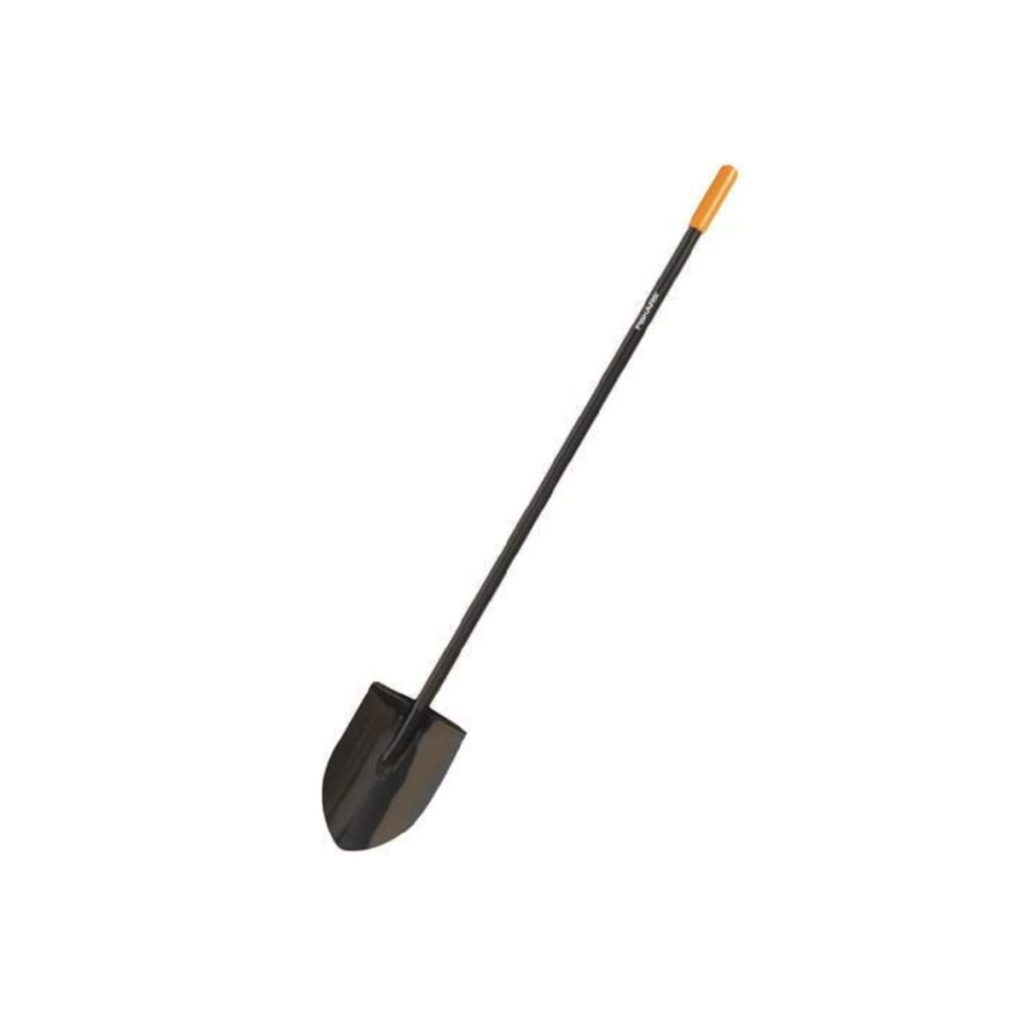
- 1 Shovel
- 1 Rubber hammer
- 1 Pruning shears
Materials
- 1 bundle Long, flexible branches or straight stems (willow, hazel, or any pliable wood or flexible saplings )
- 1 bundle Wooden stakes or posts
- 1 roll Twine or wire for tying
Instructions
- 1. Choose a Location: Find a sunny area in your garden and clear it of weeds and debris. Loosen the soil with a shovel or garden fork to create a level surface.
- 2. Gather Materials: Collect long, flexible branches like willow or hazel for weaving the wattle fence. Cut sturdy wooden stakes and drive them into the ground at regular intervals around the perimeter of the garden bed area.
- 3. Construct the Perimeter: Secure the stakes or posts along the perimeter, leaving space around existing raised planter boxes if applicable. Hammer stakes at each corner and weave thick branches between them in a crisscross pattern.
- 4. Weave The Wattle Fence: Begin weaving branches around the stakes, overlapping them slightly for a tight weave. Fill in gaps with slender branches until reaching the desired height.
- 5. Fill in the Woven Fence: Add more branches to strengthen the structure, securing beds to existing boxes if needed. Trim any loose pieces for a neat finish.
- 6. Add The Soil: Fill the garden beds with a mixture of soil and compost, ensuring good drainage and fertility.
- 7. Plant Your Garden: Choose a variety of plants and shrubs to fill the beds, watering and caring for them regularly to help them thrive.
Notes
Deb’s Tips
- Check the garden fence for damage like loose weaves, gaps, or wear, and fix any issues by filling in spaces with small branches.
- Each year, apply a protective layer to the wood using a mixture of linseed oil and turpentine, applied with a rag or paintbrush, to extend its lifespan, especially in snowy winters.








Thank you so much for the feature.
I love what you’ve done – both with the garden idea and the wattle fence – beautiful. Thank you for sharing.